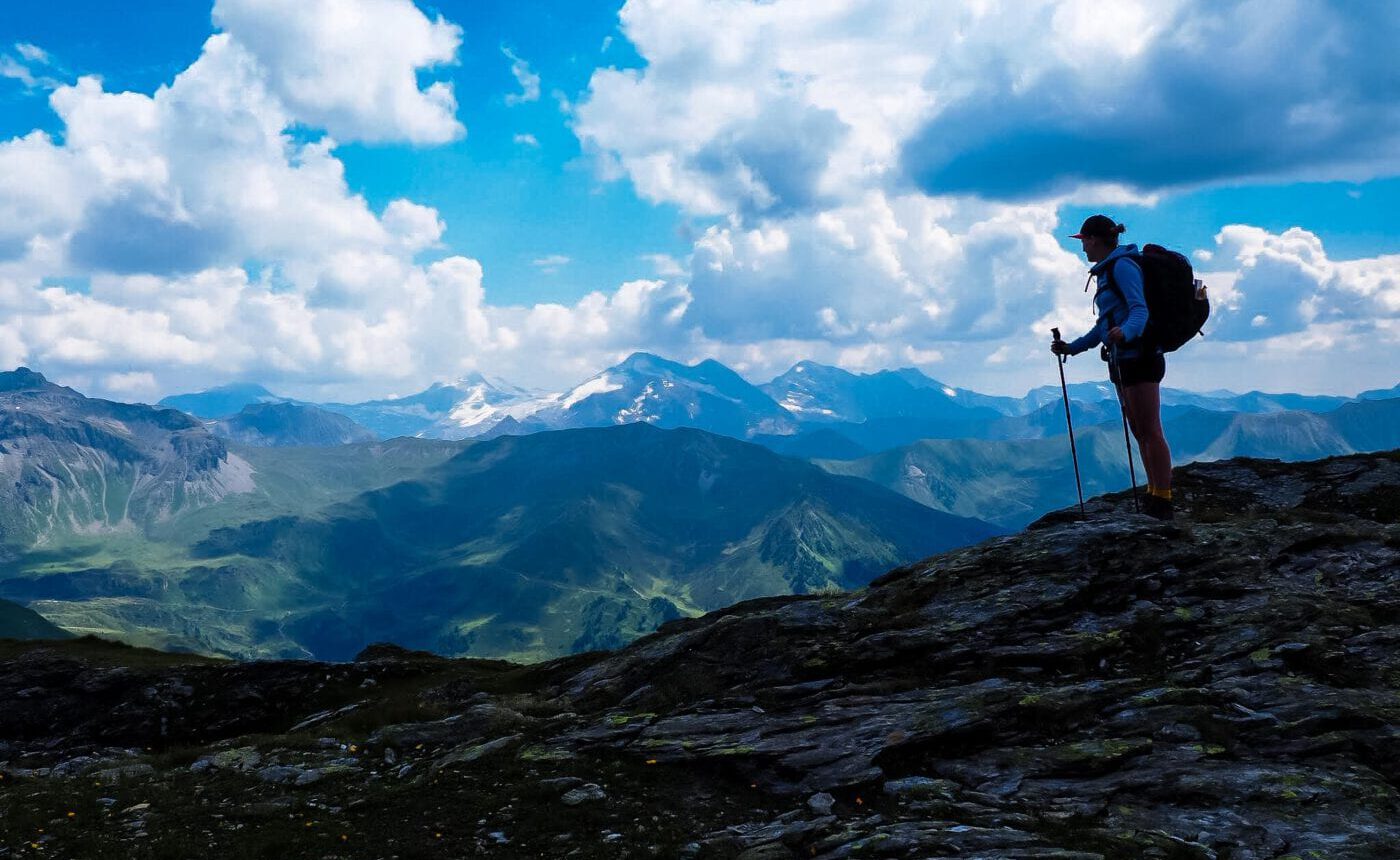
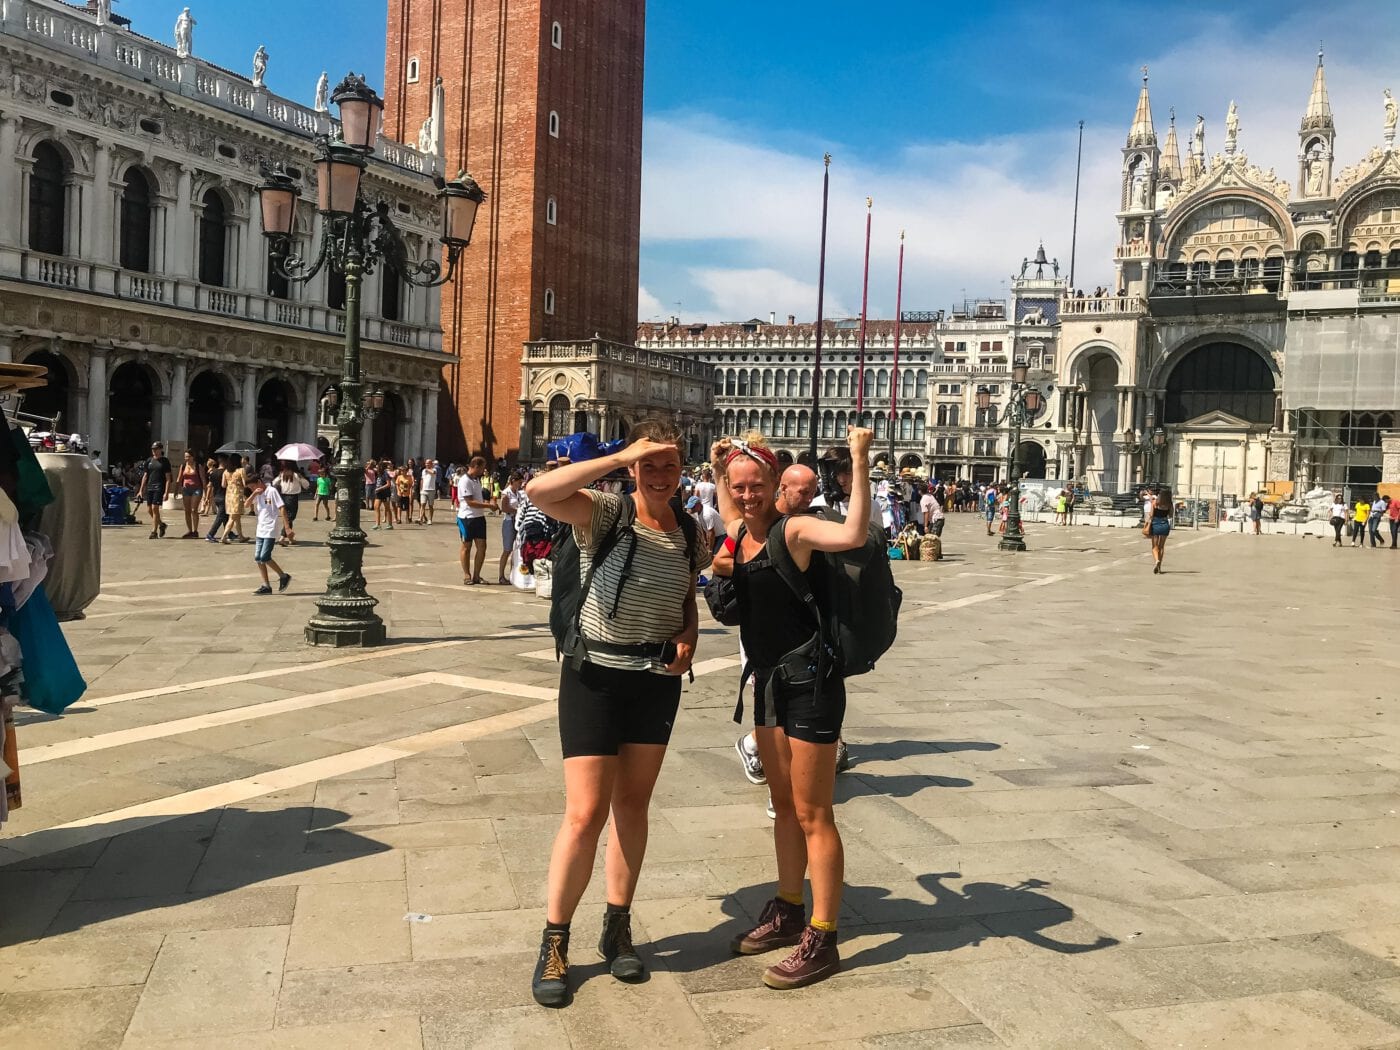
I’m looking out from my balcony in the middle of Berlin. I think back to the four and a half week long journey that took my friend Milena and me from Munich to Venice. It feels surreal to be back in the city now, surrounded by so many people. I hear screaming children, honking cars, and a tram thundering over the tracks. Just a few days ago, everything around me was completely silent. No wonder I feel out of place right now; life here seems to move a bit too fast.
Back in early July, two weeks before departure, I could hardly believe I would leave civilization so far behind, along with my overflowing wardrobe. I traded it in for a 40-liter backpack. Two outfits, a toiletry bag, and a well-stocked travel first-aid kit were all I carried from July 24 onward, when we boarded the train to Munich at 6 a.m.
Our stomachs were full of nerves, alternating with bursts of euphoria. Especially because we’d have nothing to do for 32 days except hike. Totally surreal.
We promised ourselves we’d document our impressions daily in a journal. Luckily, we stuck to that promise, which now makes it easier for me to write down our experience in the hope that it might provide helpful tips for those planning to cross the Alps and Dolomites as we did, and support them in preparing for an unforgettable trek.
Content
General Information About the Long-Distance Trail
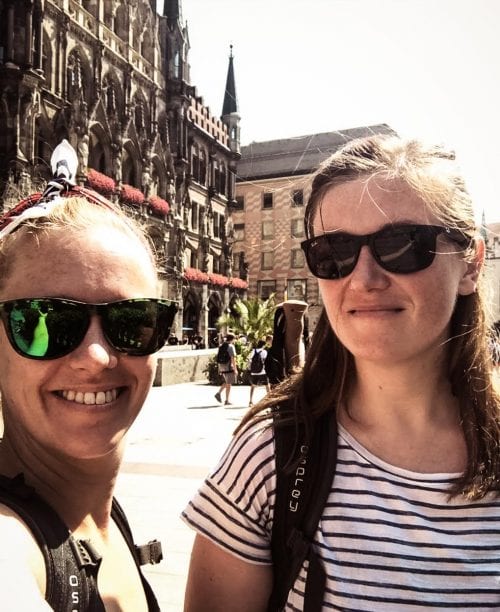
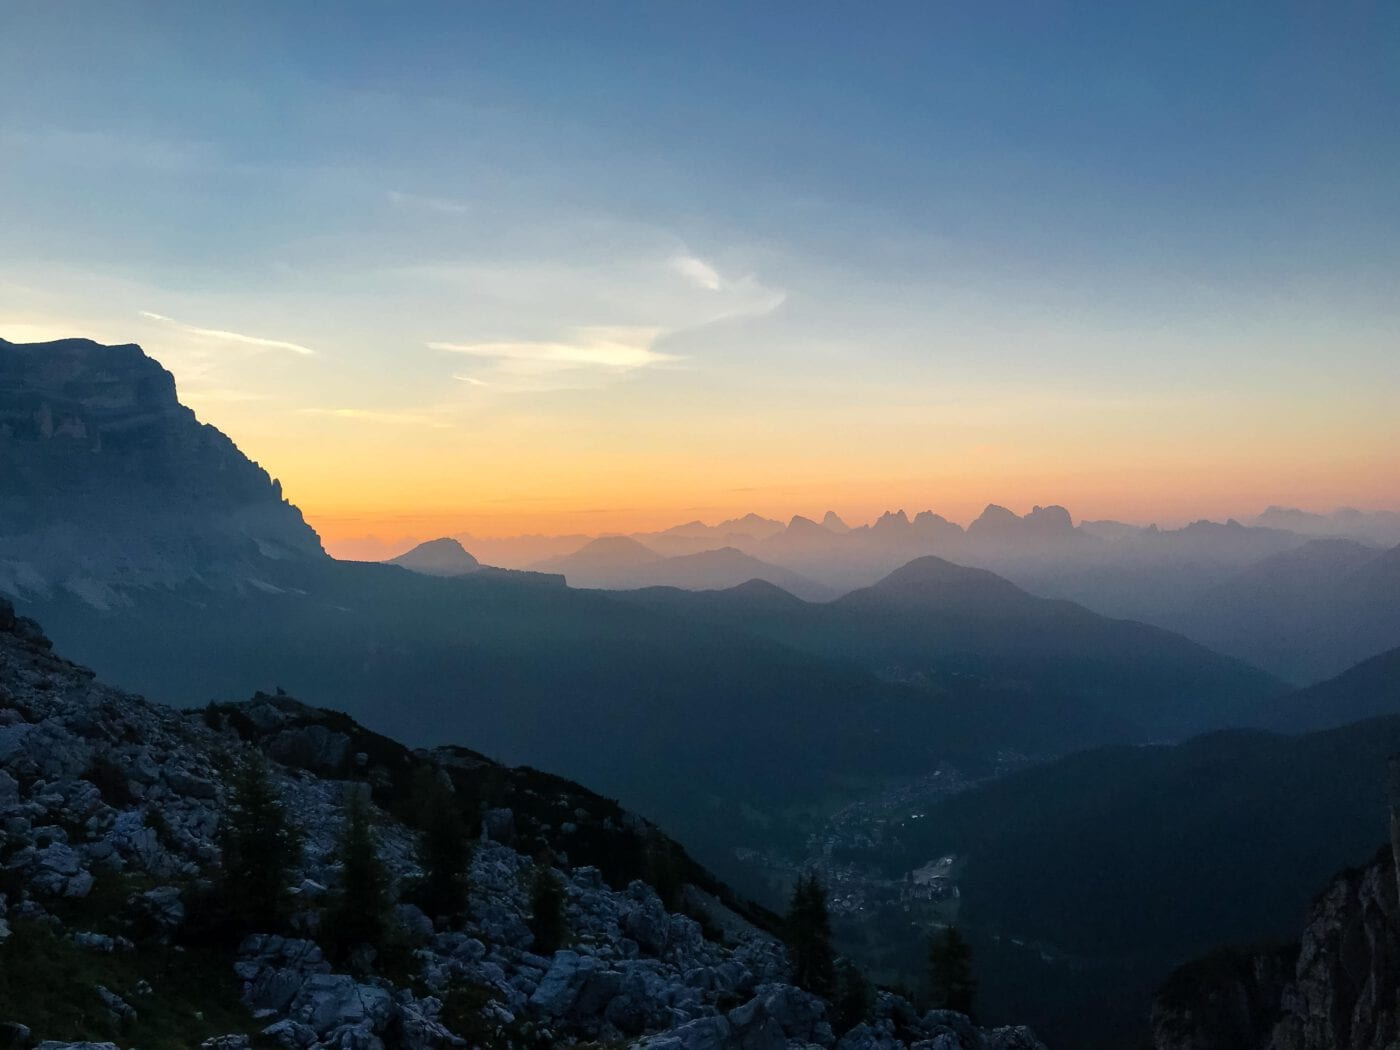
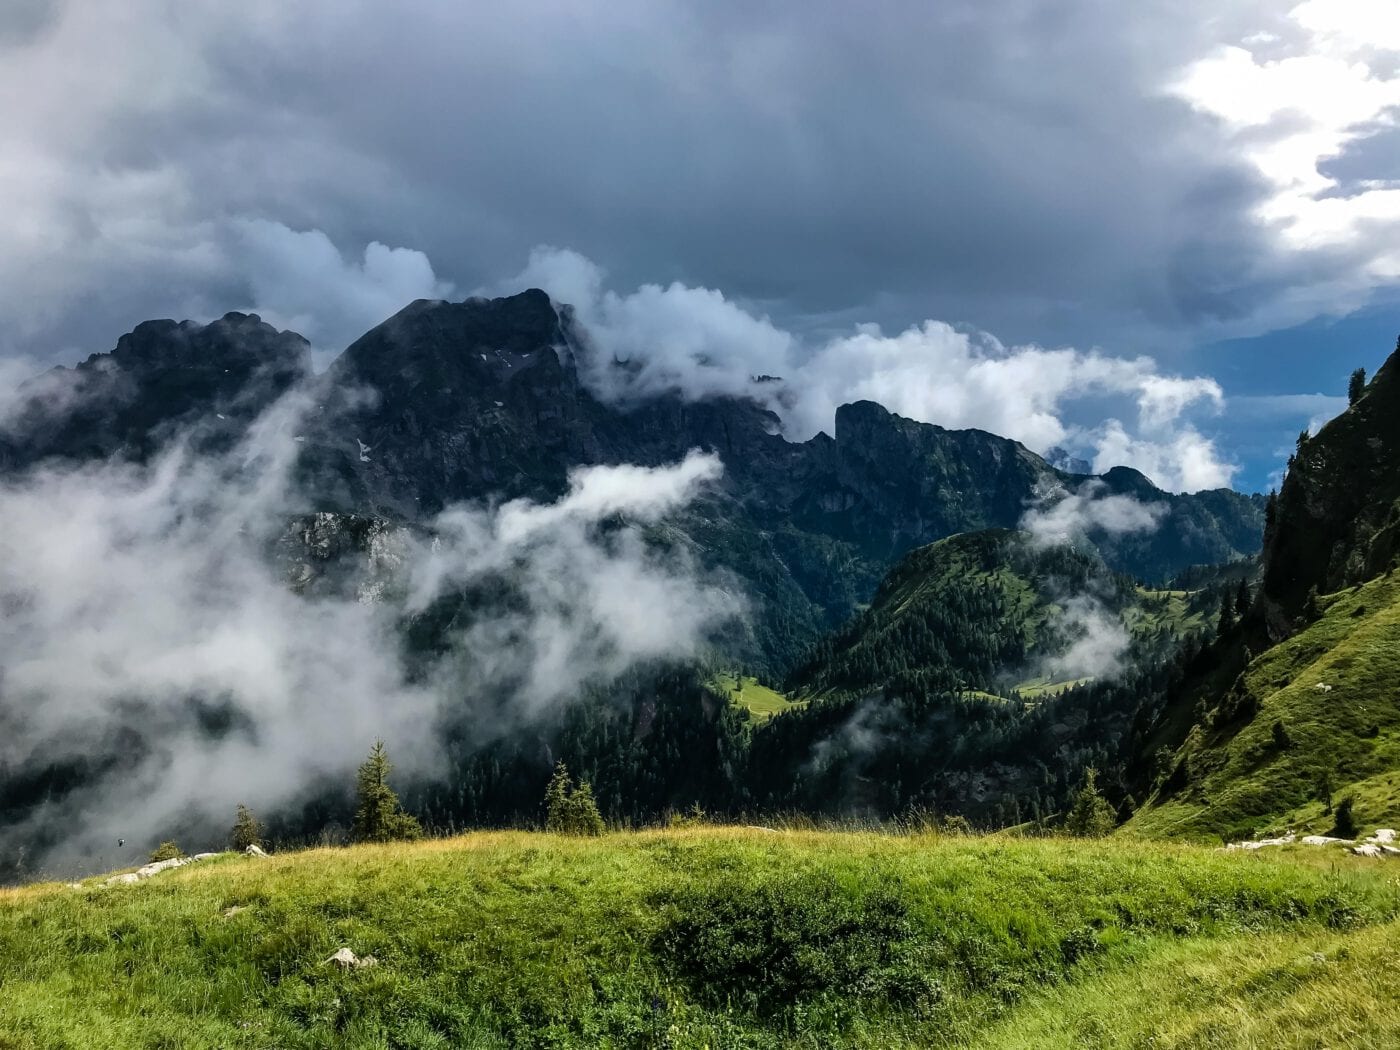
The long-distance trail from Munich to Venice was first described by Ludwig Grassler in a book published in 1977. The route leads from Munich’s Marienplatz to St. Mark’s Square in Venice. Along the way, you pass through the Bavarian foothills, the Karwendel mountains, the Tux Alps, the main Alpine ridge, the Pfunderer Valley, and the Lüsner Alm before reaching the Dolomites. Near Belluno, the mountains rise one last time before flat stages lead you into Venice.
Grassler’s original route takes 28 days. But there are now other guidebooks that describe alternative stages, some slightly longer, some shorter. Some hikers break the entire route into week-long sections that they complete year by year. Others aim to cover the 550 kilometers as quickly as possible. Everyone does it their own way.
We followed the Rother hiking guide that outlines 29 stages. In addition to hiking days, we planned 3 rest days to process the experience and give our bodies a break.
How Challenging Is the Munich to Venice Trail?
Requirements
I’d say that any reasonably fit and healthy person can walk this trail. We met people of all ages, teenagers and even those over 80. But neither the distances nor the elevation gain should be underestimated. The route is definitely strenuous. Even if some daily stages sound easy, 7 or 15 kilometers, they can involve up to 1,600 meters of elevation gain just uphill, which is no small feat.
It’s worth training your fitness in advance and possibly doing strength exercises to build muscle. That said, your body will adapt gradually in the mountains. Try hiking some uphill routes beforehand, it makes a huge difference for your joints whether you’re walking on flat terrain or tackling steep climbs and descents. With some practice, you’ll get to know your body, especially your joints, better.
It can also be helpful to practice hiking with your backpack. I had only worn mine on a hike in Scotland, bundled up in warm layers. Wearing the same pack in 34°C heat with just a thin merino shirt was a whole different experience. By the end of day two, I had rub marks on my hips and shoulders, but luckily, they faded quickly.
Fitness Preparation
While it’s technically possible to do a long-distance hike like this without preparation, I wouldn’t recommend it. The effort and distances involved are no joke. I’ve always been a good walker and can cover long distances, but the many meters of altitude and long stages still made me nervous. I have a slightly crooked back, which can lead to knee and ankle issues (I’m not getting any younger…), so I wanted to prepare to avoid major pain or lasting damage.
From around five months before the trip, starting in March, I began running 1–2 times per week, 5 to 10 kilometers per session. On shorter runs, I ran faster; on longer ones, at a slower pace. I also went boxing or did yoga 1–2 times a week, depending on what I felt like. At home, I did stability and light strength exercises to build muscle around my knees and lower back. This included planks and squats/jumping squats.
One major boost to my endurance came from switching from public transport to cycling. I now bike to work and back every day, about 45 minutes total.
- Run 1–2 times a week
- Box or do yoga 1–2 times a week
- Stability and strength training
- Switch from public transport to bike commuting
Tips From My Physiotherapist
On top of my training, I visited my physiotherapist for advice. He recommended Kinesio tape and showed me how to apply it properly. If you have a misaligned pelvis or weak hips, your knees may tend to buckle inward. That puts strain on your ankles and hips. And when you’re walking up to 34 kilometers in a day, your joints will definitely make themselves known (even if you’re well-prepared, but you can still minimize the impact).
Kinesio Tape
I had never used Kinesio tape before and didn’t know how it worked. If you’re the same, the tape has a similar effect to someone lightly snapping your arm. It sends a signal through the skin to correct a misalignment. Like when someone pokes your arm and you instinctively pull away. The body gets a message through the skin to adjust posture.
I wore the tape for four days and really noticed a difference. My neck tension eased, and I felt like I walked more upright and correctly. So, this colorful tape is more than just decoration, and I’m glad I tried it a month before the trip.
Magnesium Oil
My physio also recommended magnesium oil. I had previously taken magnesium granules for muscle cramps, but magnesium oil works more directly. You spray it on the skin, and it’s absorbed right away. That helps quickly relax tense muscles. If we end up with tired, crampy legs at the end of a day (which I fully expect), we’ll spray on the oil to loosen up. Magnesium oil is especially popular with triathletes.
Insoles
On long treks, many people use insoles, especially gel ones that relieve pressure on the soles. Others support the arch of the foot. While that may sound helpful, if you don’t usually wear insoles, your body is not only adjusting to long hikes but also to a new walking dynamic. That’s a lot at once. My physio said it’s best to bring insoles just in case and use them only if needed.
How to Properly Wear Your Backpack
His third tip: wear your backpack correctly. There are a few ways to carry it, on your hip bones or around the hip joint. Wearing it on the hip bones, near your waist, takes the most strain off your shoulders but adds more to your lower back. If you want to avoid that, tighten the hip belt around the hip joint. “You’ll take smaller steps and be a bit restricted,” he said, “but you’ll spare your lower back. On a trip this long, you’ll be grateful.” It felt strange at first, but I trust him.
Navigation and Signage
Thanks to the Rother guidebook, we were well-prepared for each stage, both with the physical book and the app. Especially in the mountains, the guide was incredibly helpful. The newer edition clearly reflects feedback from hikers, particularly in areas where people often get lost. The book has been updated. In the mountains, we didn’t lose our way once.
On the flatland stages from Munich to Bad Tölz (the first two days), however, we got lost several times. There are so many trails and signs that it’s almost impossible not to get confused. I have some theories about why that happened. We still had to get used to the book’s format and didn’t always immediately understand the directions. At several intersections where we, as city folk, hoped for clear signage, there was nothing, so we had to go with our gut. That didn’t always lead us in the right way.
To add to the confusion, signs for casual walkers sometimes led us off the official “dream trail,” so the book’s instructions no longer applied. We always found our way back, but often with a few extra kilometers in our legs. It was reassuring to hear we weren’t the only ones with that experience.
In the mountains, the signage was mostly helpful, either through signs, painted trail markers, or cairns. One tip: don’t rely too much on the posted walking times. We sometimes felt that different people had labeled the same route. One sign might say 1.5 hours at the top of a trail, and 45 minutes later, still on the same path, another sign would say… 1.5 hours again. A different sign before the Tutzinger Hütte warned of a 3.5-hour hike, but we arrived after just one hour. So don’t let the time estimates throw you off; instead, learn to gauge your own pace.
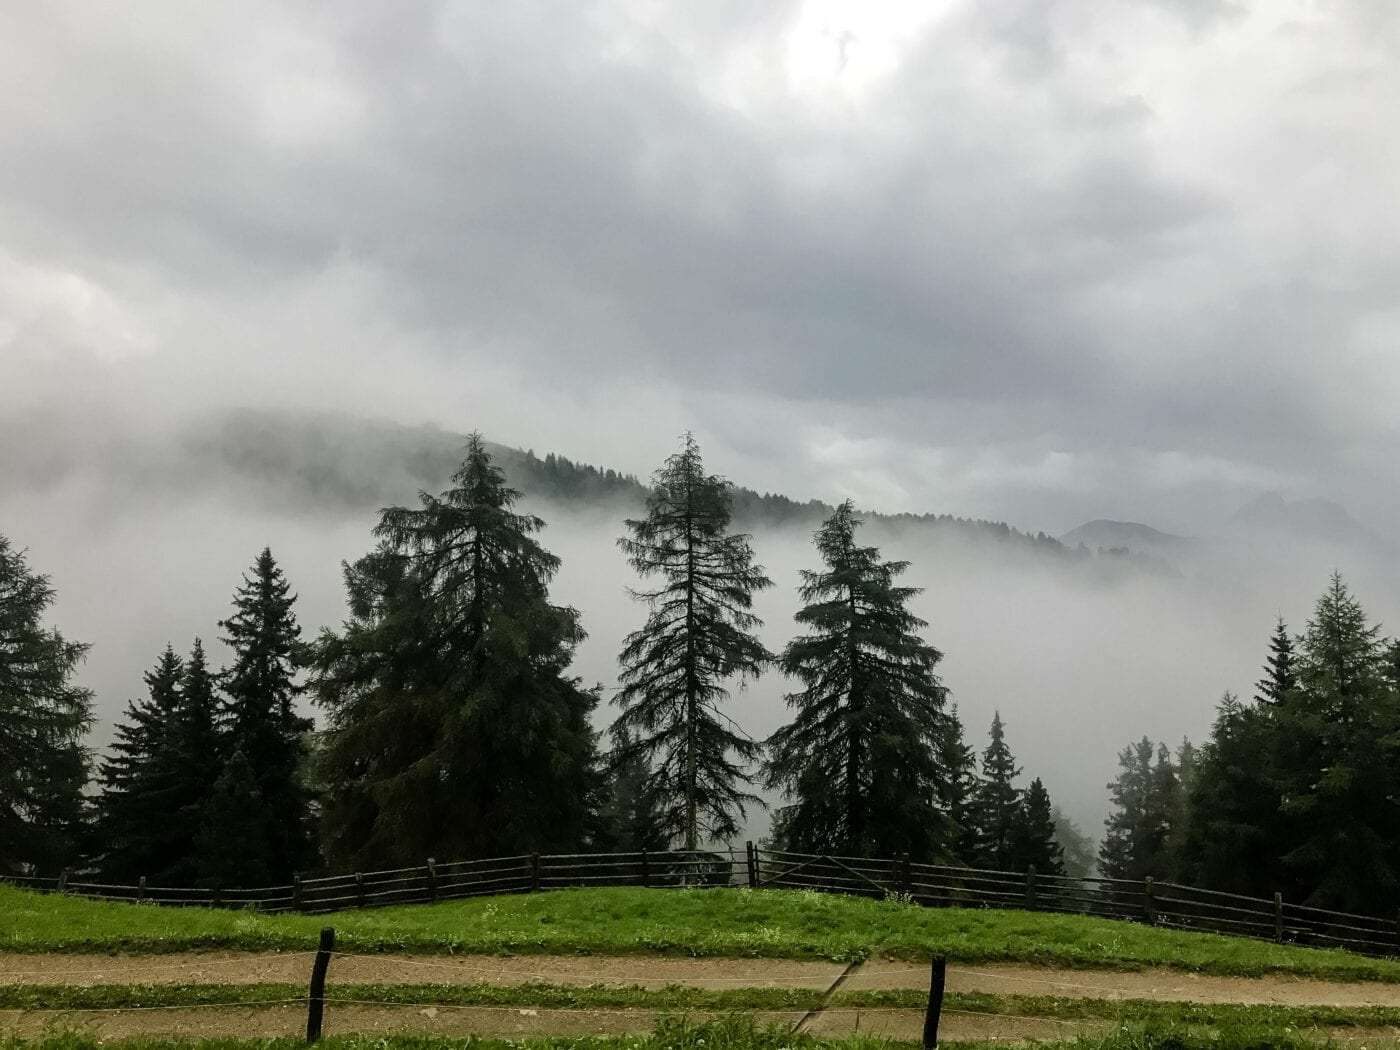
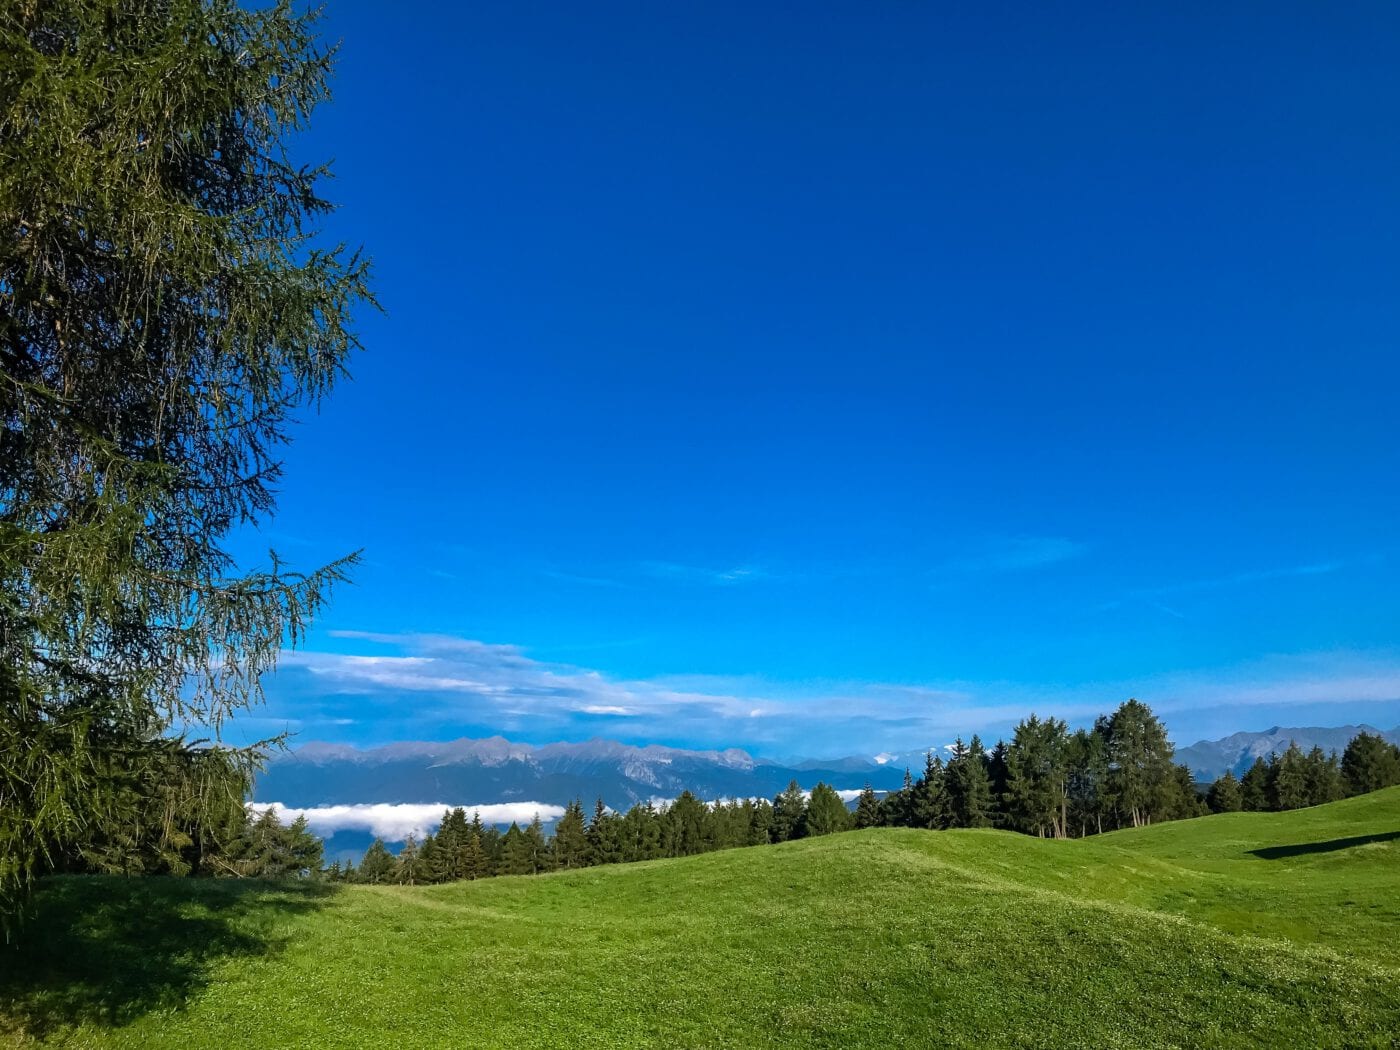
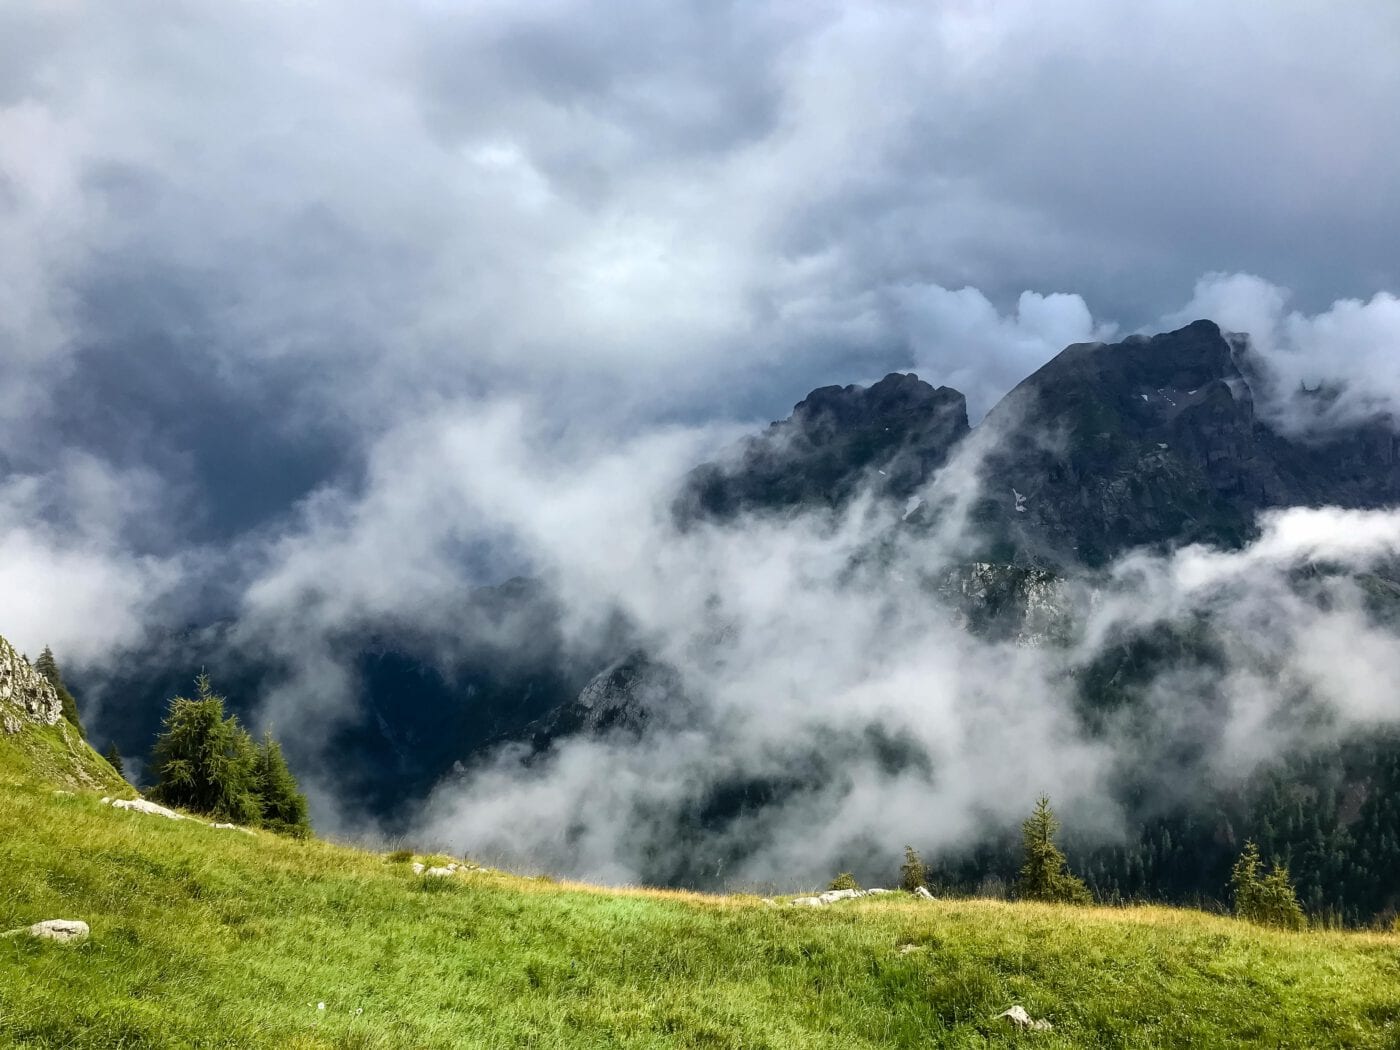
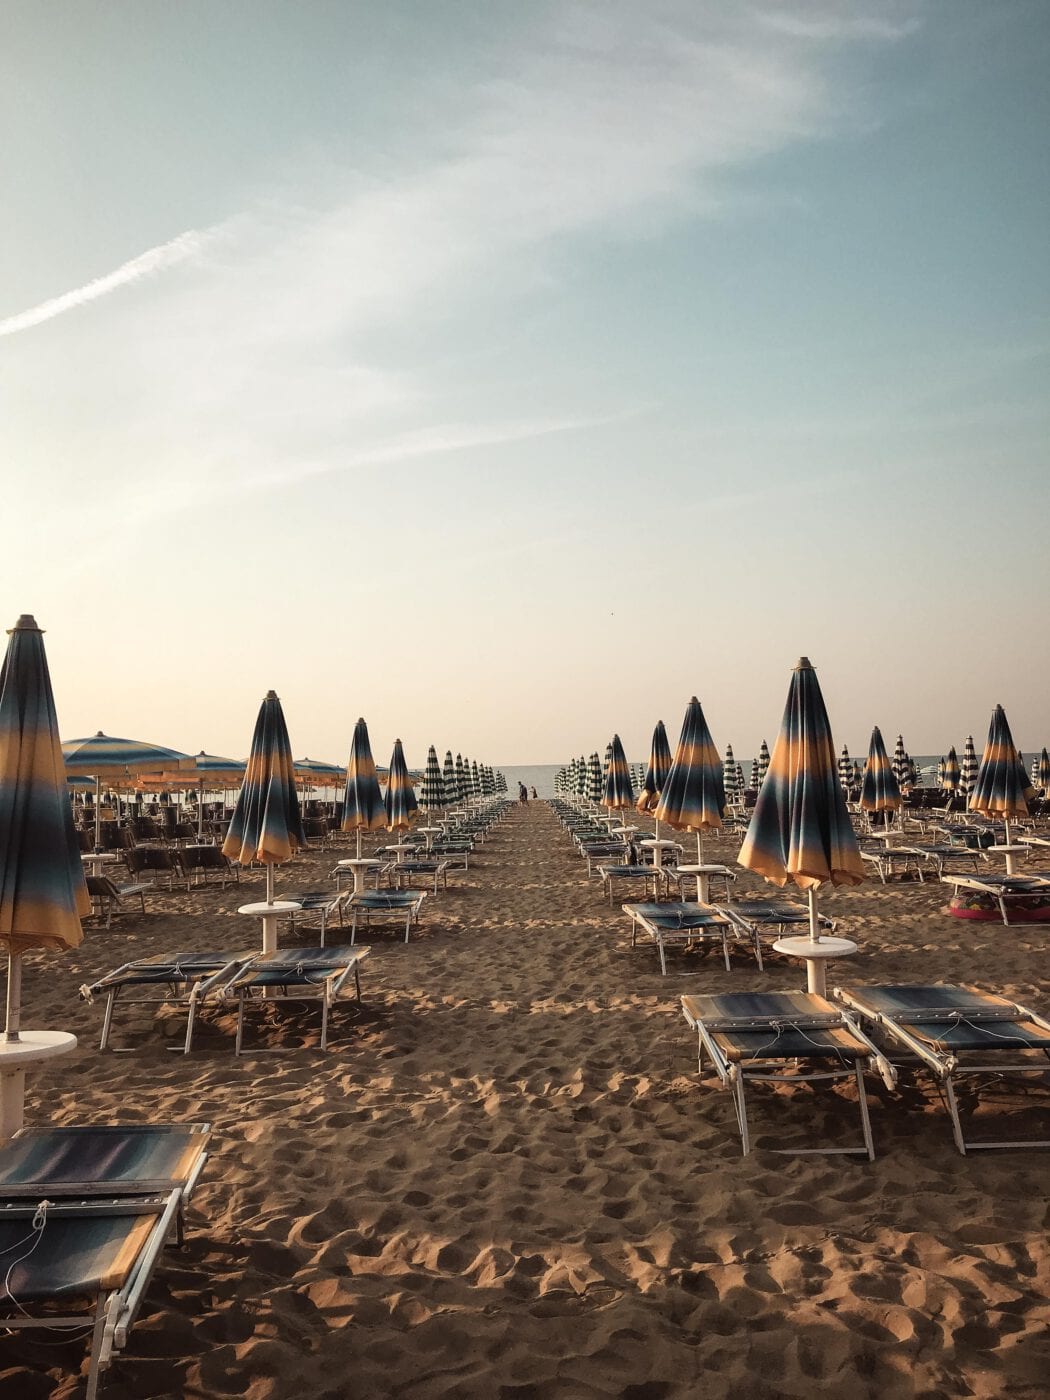
Weather
You can’t plan the weather, especially not over a whole month. We expected a lot of things, but definitely not what we ended up getting: 30 out of 32 days of sunshine. Unbelievable, I know. It wasn’t just clear skies but sometimes blazing heat, with over 30°C on some days. That meant we drank an incredible amount of water (around 3 to 5 liters a day). We were constantly thirsty and felt dizzy at times. We tried to drink water, Rivella, or juice with salt. In the evenings, we made extra salty pasta and ate peanuts, cheese, and dried sausage. At the hut, I often asked for a mug of hot water and stirred in half a bouillon cube. That salty broth was honestly a lifesaver.
Of course, a month with so much heat has downsides. It was often incredibly hot and dry. Several pastures had no water sources left because the streams had dried up. The water situation was worse than usual, especially in the Dolomites. There were days we drank nearly everything we brought and had to ration for the final few kilometers.
My guess is that in a more typical year, this wouldn’t be as big an issue. But it’s always good to double-check your map to see if you’ll pass any springs, huts, or pastures with fountains. Keep your eyes open while hiking so you can refill if needed.
To be safe, we always carried at least 2 to 2.5 liters of water each. If the day was going to be extra long or hot, we carried up to 3 liters. That meant a bit more weight, but it was worth it.
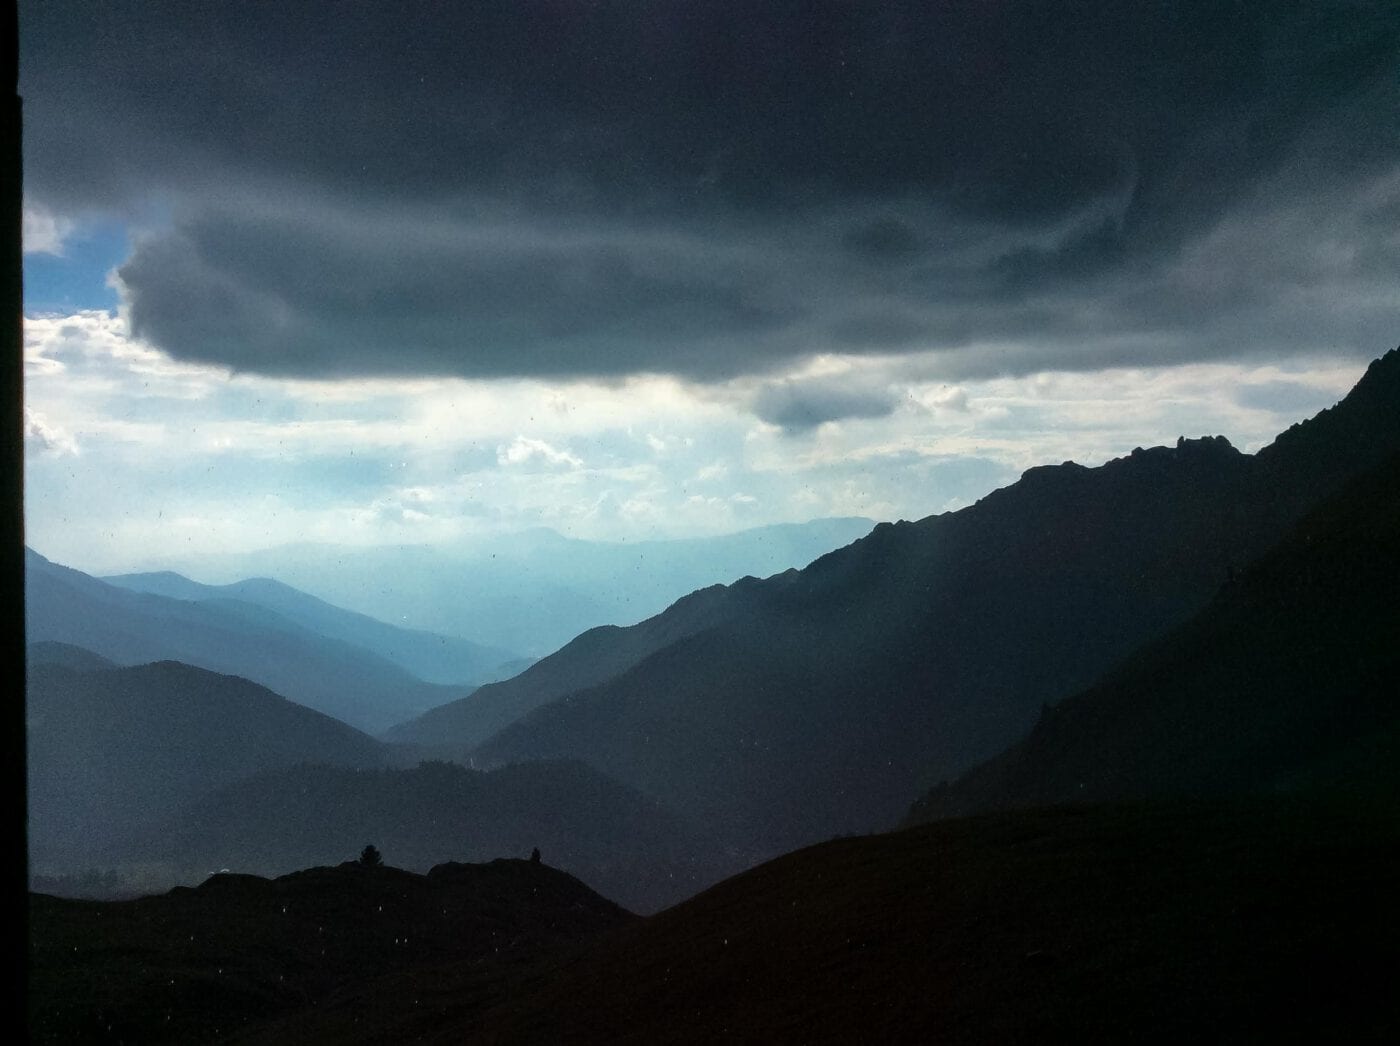
Safety and Hazards
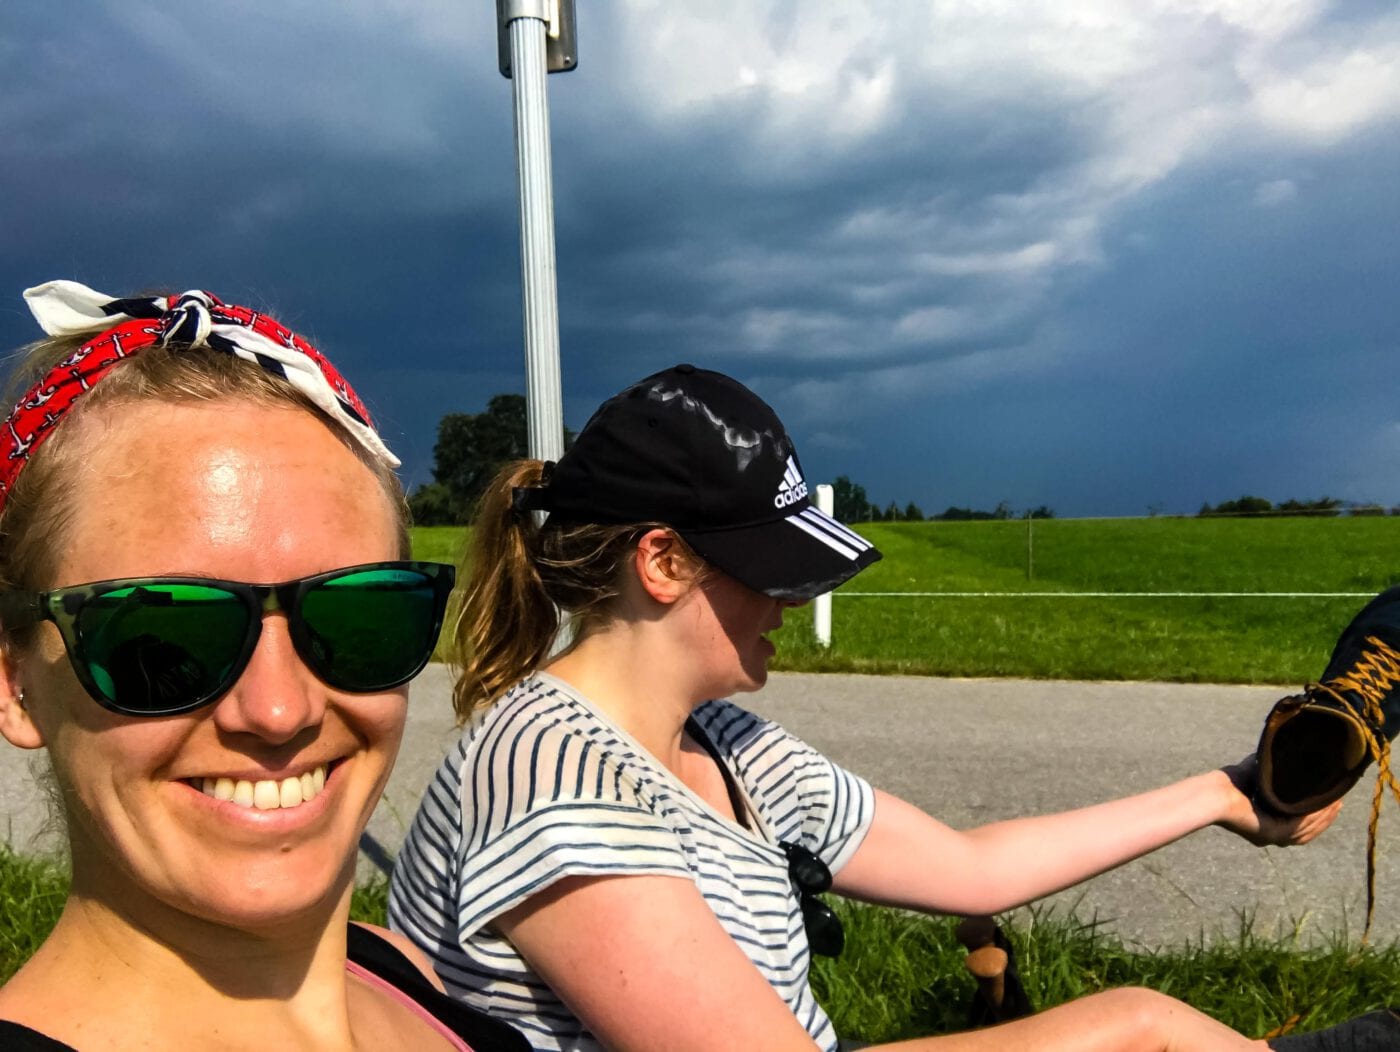
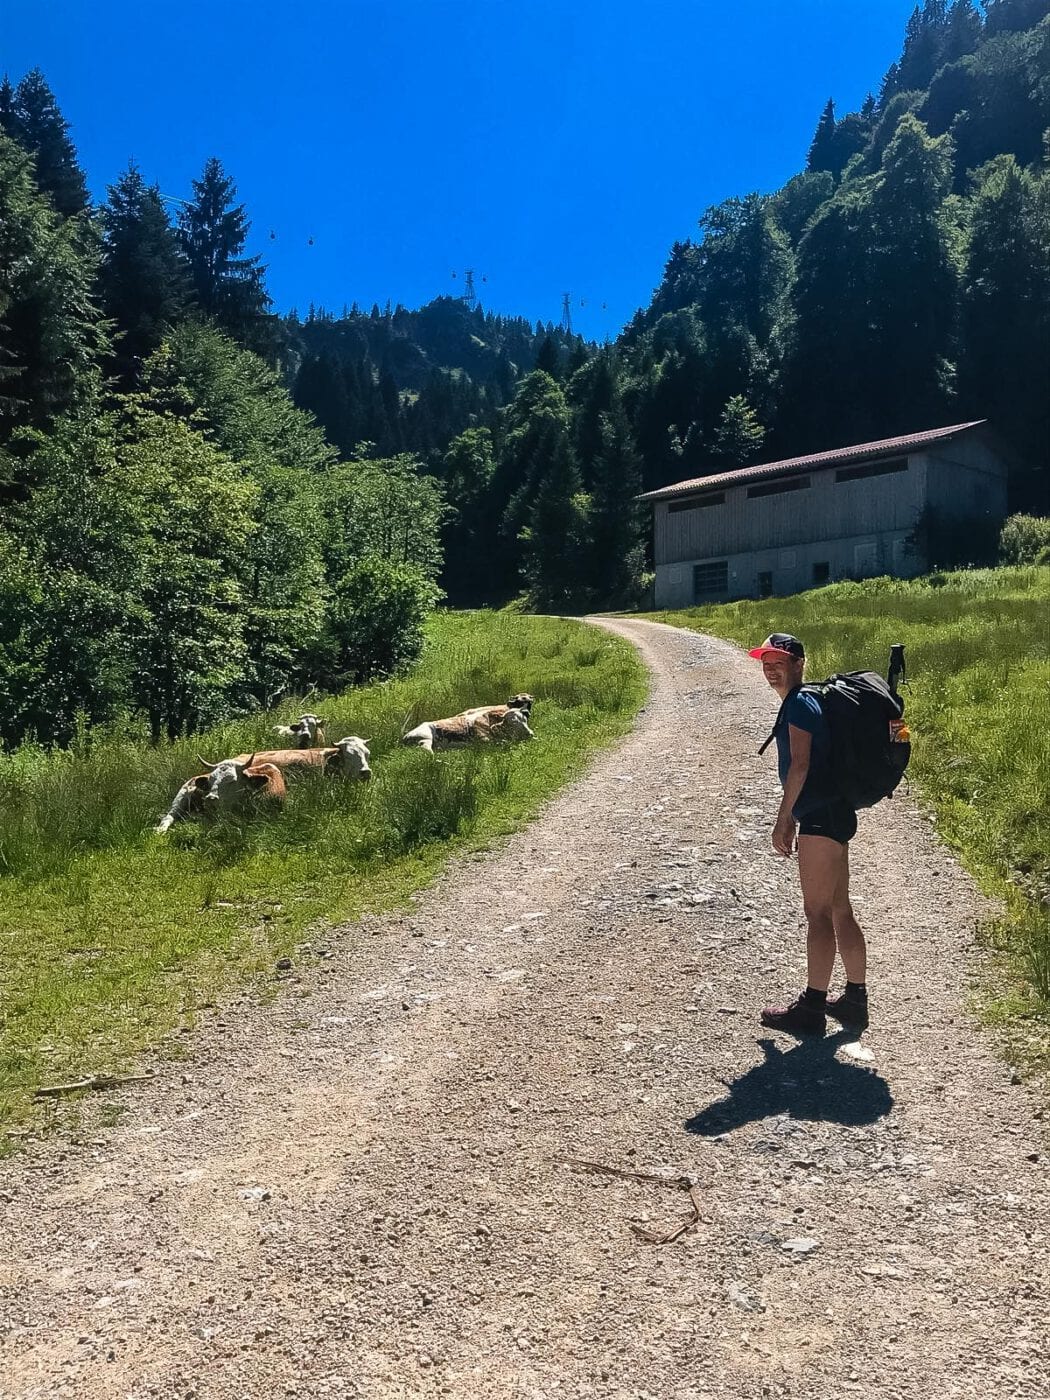
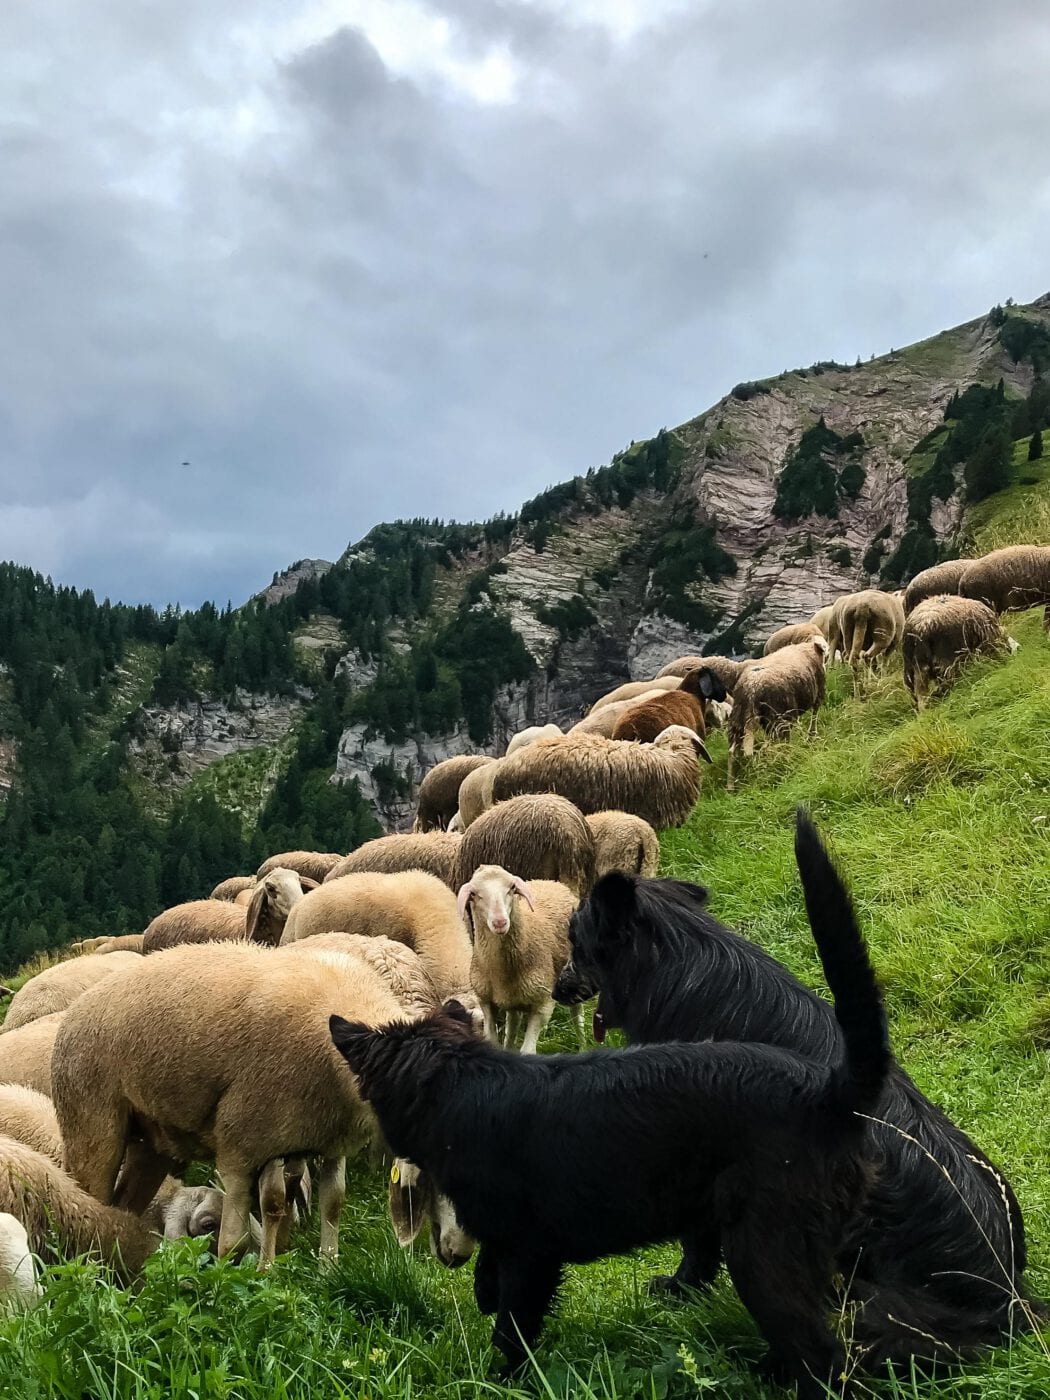
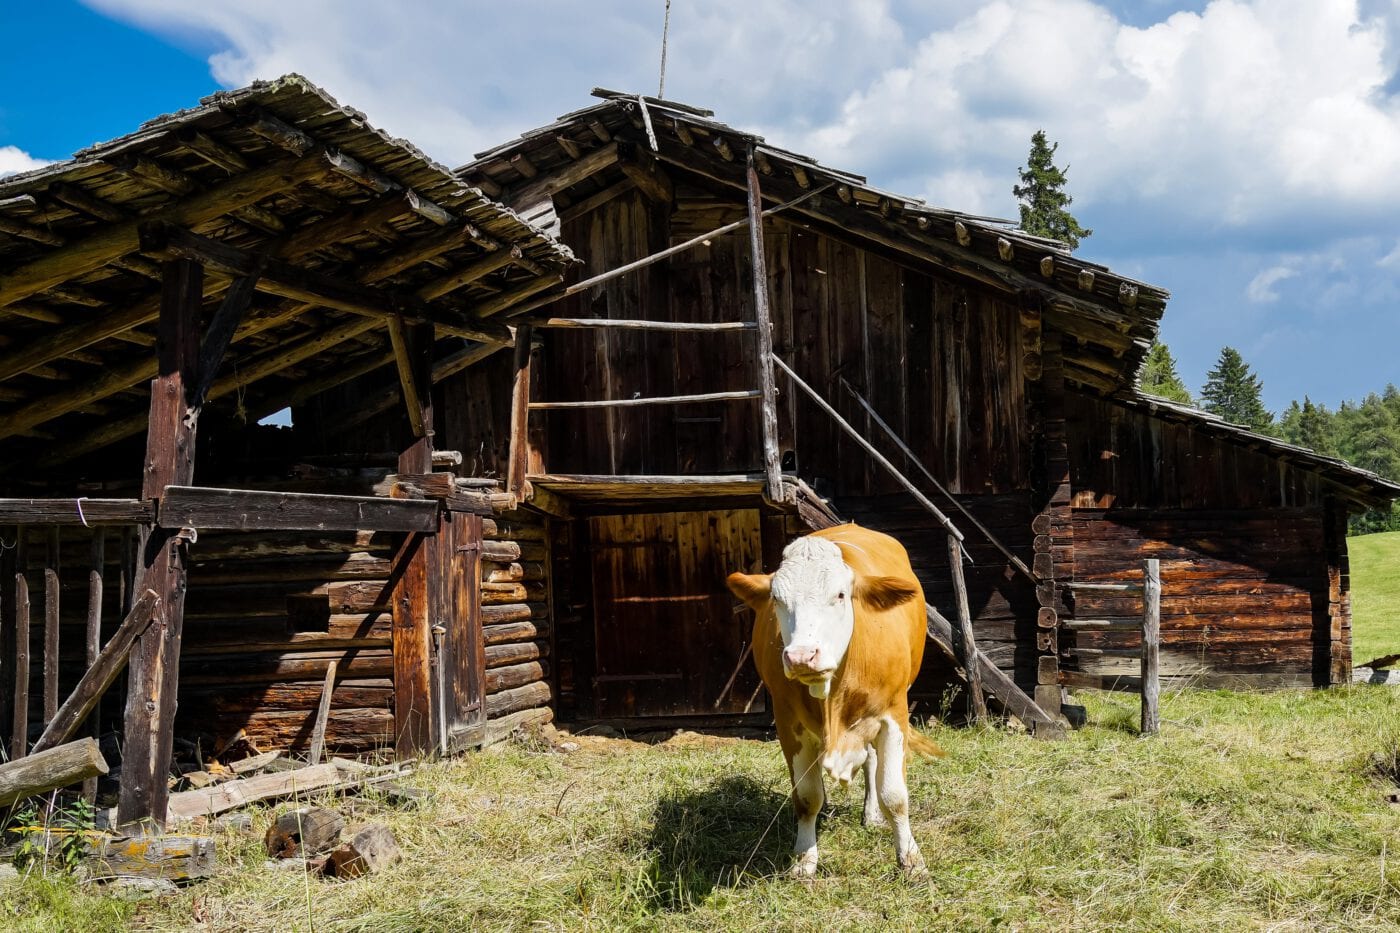
Safety is a hugely important topic, especially if you’re new to the mountains. Risks include the weather (from sudden storms to extreme heat), falling rocks (caused by animals or other hikers), and even small things like insect bites. We experienced it all: weather that shifted from a light drizzle to heavy rain with hail in under two minutes, inconsiderate hikers who triggered rockfalls without warning, cows blocking the path and refusing to budge…
But one danger I think is often overlooked is overestimating oneself. We met hikers who were tackling their first long-distance trail and set themselves the goal of beating the times listed in the guidebook every single day. They didn’t take breaks, rushed from stage to stage, always chose the riskiest variants, and so on. It’s not wrong to bring a bit of ambition, because endurance and grit are definitely needed on this tour. But if the experience itself and the connection to nature start to take a back seat and you’re constantly trying to prove something, you risk ignoring your body and instincts.
About two weeks into our journey, I was contacted via Instagram by a group of Canadians. One of their friends had also set out to hike the Dream Path, but disappeared on day 3. He was an experienced and athletic hiker. It took three weeks before he was found. His story stayed with us throughout our trek and reminded us to always be alert and listen to our gut feelings.
Stages
I’d love to be able to list exactly how many kilometers and hours we hiked, but it’s hard to say. Everyone hikes at a different pace, and the times in the guidebook are only averages. On top of that, we took long breaks and didn’t always track time precisely, though toward the end we got much better at it. And we also got a bit lost at times or took alternate routes that differed from the book. On two days, we split up the distances differently and ended up hiking three daily stages in two days. Even though our smartphones recorded the distances, they often showed completely different results for me and my friend, so we didn’t find that reliable either.
The question we always get asked is: “How many kilometers did you hike per day?” The answer: “It varied a lot.” We had long, tough days, especially at the beginning and end, with more than 30 kilometers. But that was mostly through flatlands, albeit in scorching heat. Then we had days with only 10 kilometers, but 1,600 meters of elevation gain. As you can tell, distances vary wildly.
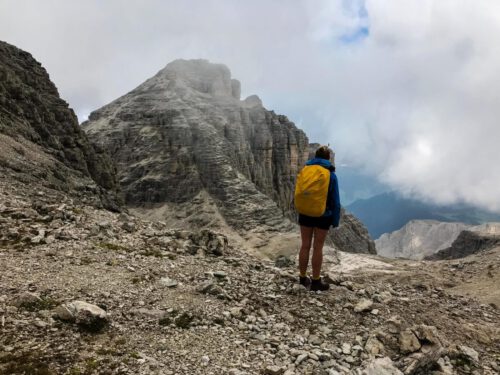
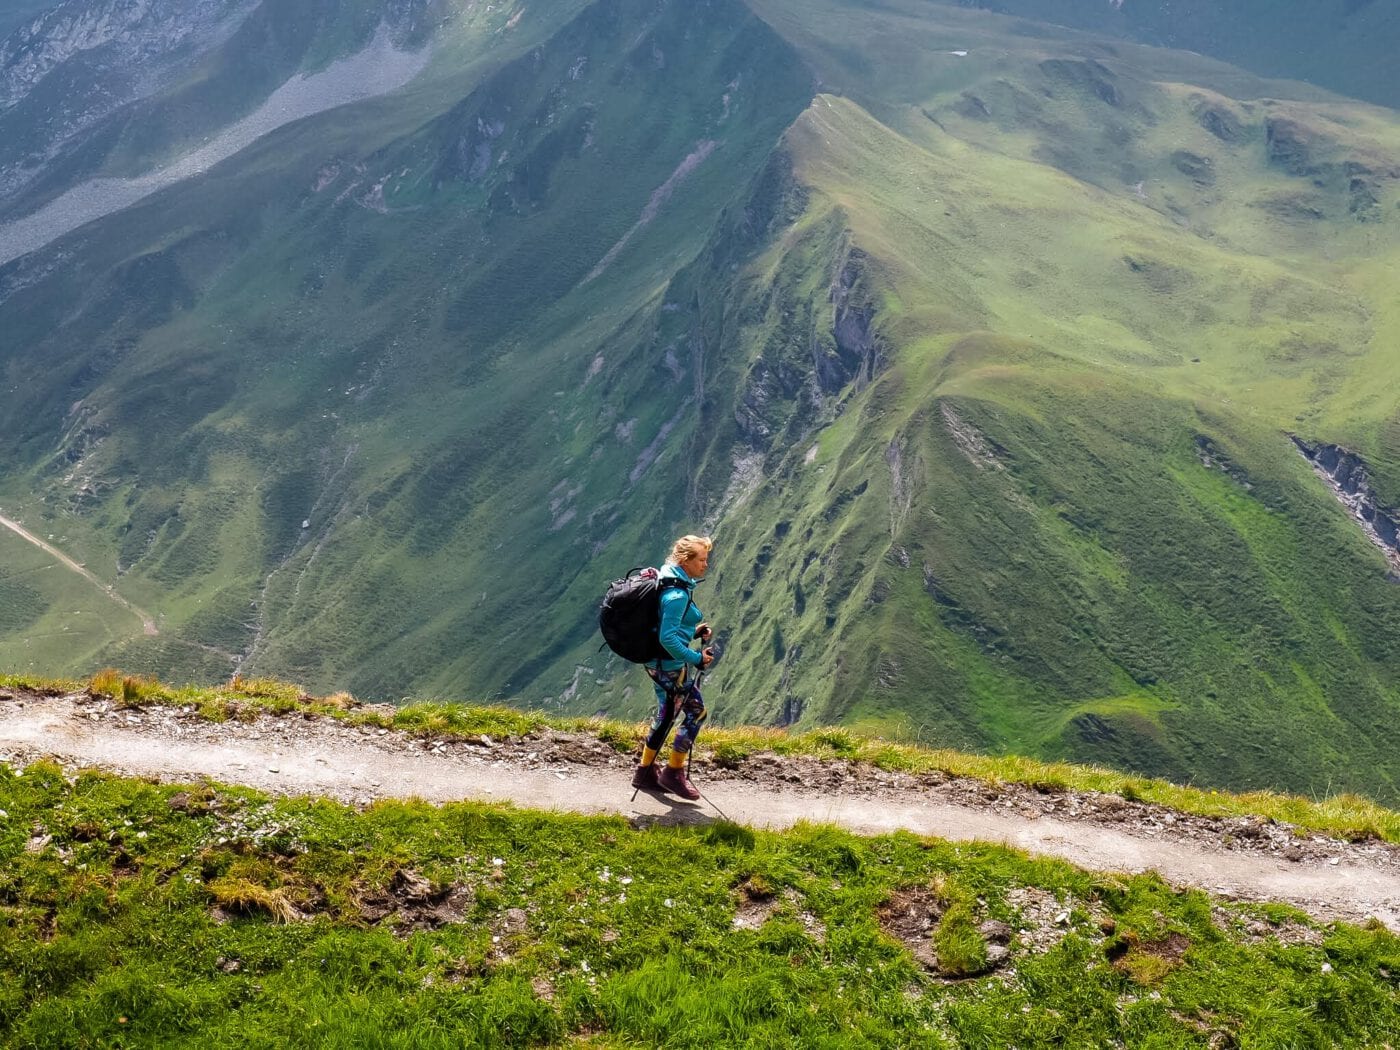
Long doesn’t always mean tough, and going up isn’t necessarily harder than going down — every day brings new lessons. I found the stages where we had to do focused climbing more exciting, varied, and rewarding (you often get a view at the top), compared to the tedious flat stretches and steep forest paths. I cursed those more than once — ask my hiking buddy (trail 14 in Austria, looking at you…). You can find a general overview of stage lengths on Wikipedia alongside the hiking guide.
So here’s an exact overview of the stages we walked. On average, we hiked 8 hours a day, with outliers in both directions. Some stages were listed as 7 hours, but took us 11 with breaks. That said, the Rother guidebook and app are unbeatable and helped us a lot with time planning.
Munich – Inntal
Day 1: Munich – Wolfratshausen
Day 2: Wolfratshausen – Bad Tölz
Day 3: Bad Tölz – Tutzinger Hütte via Brauneck
Day 4: Tutzinger Hütte – Vorderriß
Day 5: Vorderriß – Karwendelhaus
Day 6: Karwendelhaus – Halleranger Alm
(We didn’t cross the Birkkarspitze, but descended from the Karwendelhaus to the Isar, as I didn’t trust my Achilles tendon with the scree descent)
Day 7: Rest day at Halleranger Alm
Day 8: Halleranger Alm – Voldertalhütte
Day 9: Voldertalhütte – Lizumer Hütte
Inntal – Pustertal
Day 10: Lizumer Hütte – Tuxerjochhaus
Day 11: Tuxerjochhaus – Dominikushütte
Day 12: Dominikushütte – Gasthaus Stein
Day 13: Gasthaus Stein – Gasthof Moarhof in Weitental
(The stage normally ends in Pfunders, but there were no accommodations left there)
Pustertal – Lago di Fedaia
Day 14: Gasthof Moarhof – Kreuzwiesenalm
Day 15: Kreuzwiesenalm – Schlüterhütte
Day 16: Rest day at Schlüterhütte
Day 17: Schlüterhütte – Rifugio Puez
Day 18: Rifugio Puez – Rifugio Boé
Day 19: Rifugio Boé – Lago di Fedaia (Marmolada)

Lago di Fedaia – Belluno
Day 20: Lago di Fedaia – Rifugio Coldai
Day 21: Rifugio Coldai – Bruto Carestiato
Day 22: Bruto Carestiato – Pian de Fontana
Day 23: Pian de Fontana – Belluno
Day 24: Rest day in Belluno
Belluno – Venice
Day 25: Belluno – Col Visentin
Day 26: Col Visentin – Tarzo (Casa dell’Olmo)
Day 27: Tarzo – Ponte della Priula
Day 28: Ponte della Priula – San Bartholomeo
Day 29: San Bartholomeo – San Dona di Piave
Day 30: San Dona di Piave – Lido di Jesolo
Day 31: Lido di Jesolo – Venice
Day 32: Return trip

Getting There
Getting to the starting point is super easy: just hop on a train to Munich and you’re ready to go. In theory, there’s been a fast connection from Berlin to Munich for about half a year, but just four months after opening the route, construction work started again. So instead of the planned 4 hours, we would have needed almost 6, with three changes. Luckily, a regional train in Nuremberg waited for us, so we only had to switch once. Otherwise, our time schedule would have been far too tight, and day 1 would have been a challenge.
Best Time to Go
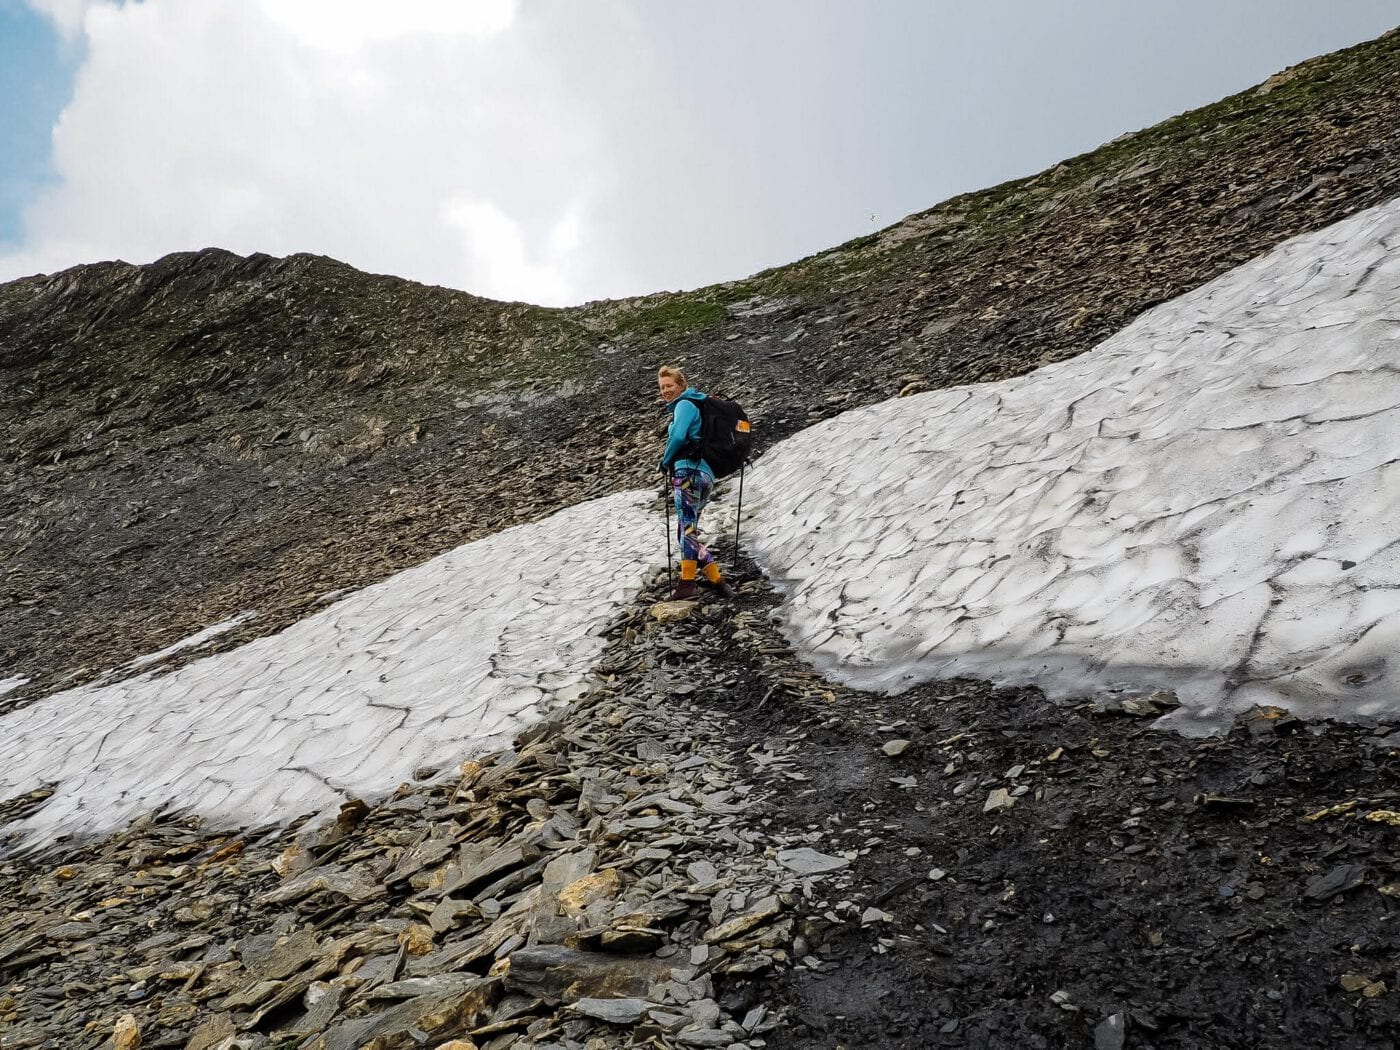
Most hikers travel the Munich to Venice route between July and September. Early July can still mean snow in the mountains, but that risk drops after mid-July. We started on July 24 and didn’t really encounter snow. Some peaks were still chilly, and a few glaciers still had patches of ice and snowfields.
Most huts along the route open in June and close again in October. Even if you’re experienced enough to handle tougher conditions, it would be hard to do this tour without hut accommodation.
Gear
What do you need, what’s unnecessary? I studied countless packing lists. Always refining and balancing things out. My personal goal: no more than 8 kilograms. Add 2 liters of water and some food, and I start each day with just over 10 kilos. That’s also the recommended limit according to most guidebooks. If you’re not staying in huts and instead camping, you’ll obviously need more gear. But mainly for weight and food reasons, we decided on a hut-to-hut trek.
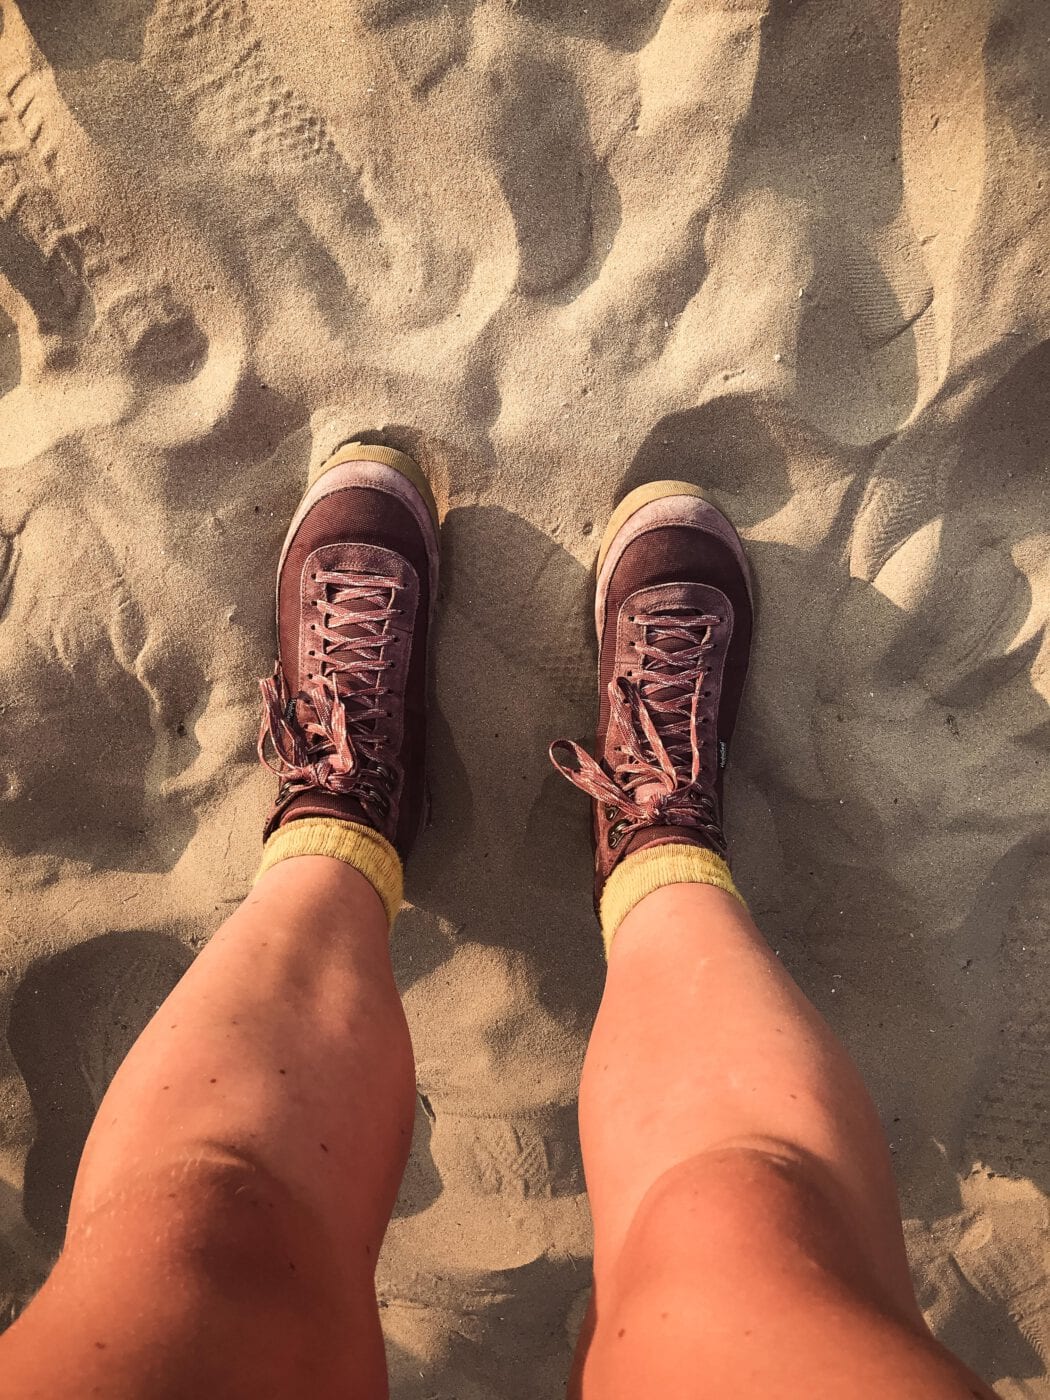
I was pretty happy with my hiking boots. They were stable enough to prevent ankle injuries, but flexible enough to avoid pressure points during climbs and descents. That said, both heels started to come unglued toward the end of the trip. Thankfully, they held together until the end. You can find an excellent overview of suitable footwear for the Dream Path on München-Venedig.net.
The Backpack
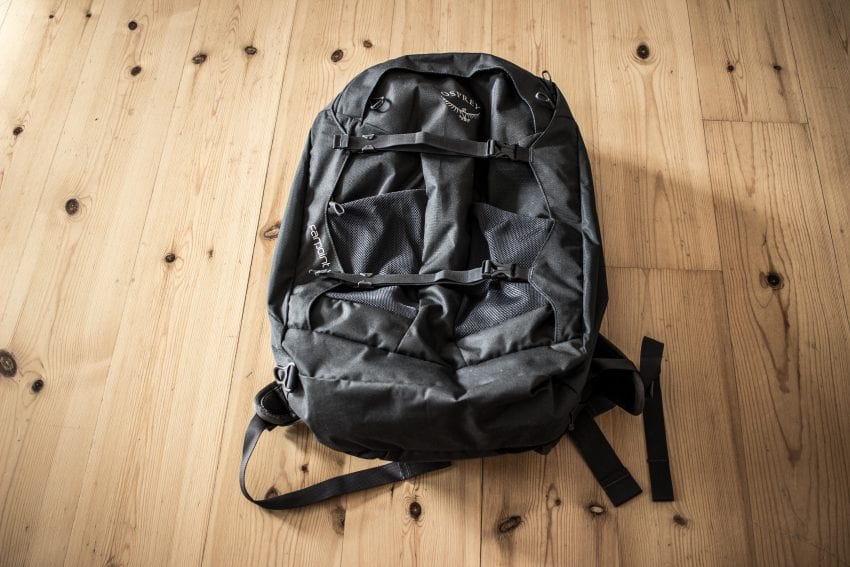
Before I get into details, here’s a quick intro to my backpack. I used the Osprey Farpoint 40, which I also took to Scotland. What do I love about it? It’s super lightweight (just 1.44 kg) and fits EU carry-on requirements. It has padded shoulder and hip straps that can be stowed in a zippered compartment if you ever need to check it in. There’s even a whistle on the chest strap — could be useful in an emergency.
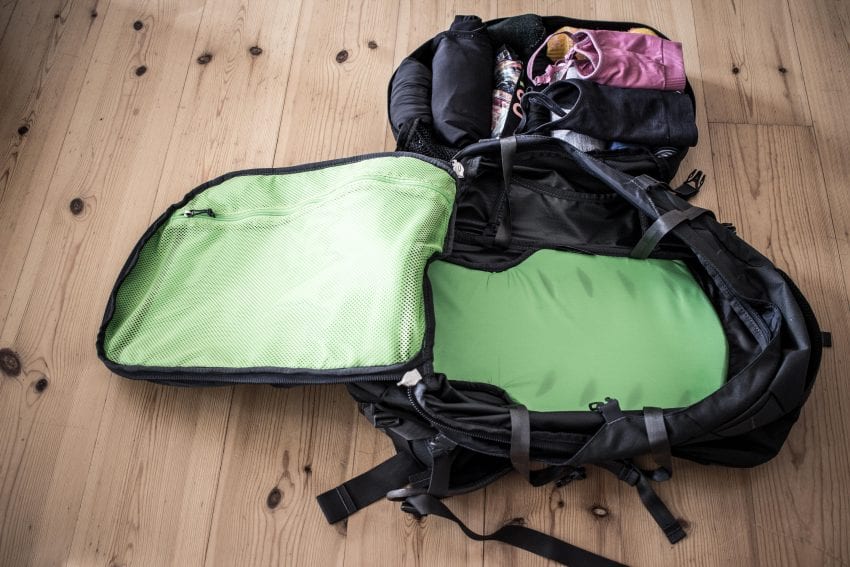
The full-packed dimensions are: 54 (l) x 35 (w) x 23 (d). The back of the pack has a frame where you can perfectly attach a rain cover. There’s a large main compartment with compression straps to keep everything tight and secure. The front compartment has a padded laptop sleeve where I store my iPad. It also comes with a shoulder strap in case you want to carry it like a duffel bag instead.
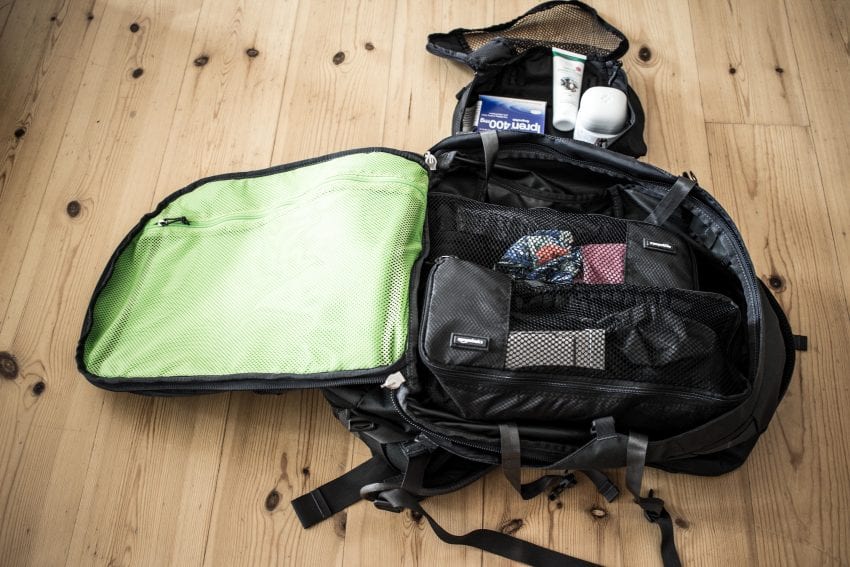
Best of all, it opens completely from the front, so even in the darkest, tiniest huts, you can access everything without a problem. But because the carrying system is fairly simple, it’s not suitable for longer tours with more gear or heavier weight.
Packing List
Tech
As much as I’d like to travel light, a large part of my backpack is tech gear. I’ll leave my laptop at home to save weight, but my mini iPad with a foldable keyboard is coming with me. It’ll be used for navigation, checking upcoming stages, and dealing with admin that can’t wait (hello VAT return).
- Phone
- Charging cable
- Camera and memory cards
- Spare battery
- iPad Mini and keyboard
- GoPro
- Power bank
Clothing
I tend to overpack, but this time my list is pretty minimal. The keyword for the hike is layering, like an onion or a nesting doll. I’m also staying away from synthetic activewear and going for merino wool. It’s supposed to help with odor, so I’m hoping I won’t stink too badly. Most of the clothes came from Avocadostore.
- 2 merino T-shirts
- 1 merino long-sleeve
- 1 thin pair of leggings
- 1 warm pair of leggings
- 1 pair of shorts
- 2 pairs of hiking socks
- Rain pants
- Rain jacket
- 1 fleece jacket with merino
- 2 sports bras
- 4 pairs of underwear (+2 period panties from Thinx)
- 1 bikini
- Flip-flops
- Lightweight sneakers
- Headband
- Baseball cap
Miscellaneous
It all adds up, no doubt, but there are a few things you just have to take, like a trash bag. If every hiker left their garbage behind at the huts, the staff would be busy hauling waste instead of running the place. So: pack it out.
I’m bringing a tote bag for small errands or trips into town. I also debated whether to take a travel yoga mat — every gram counts. I finally found one that’s basically just a non-slip film. It helps define your personal space in crowded huts and keeps you from sliding around. I considered the Jade mat made from natural rubber, too, but it was more than twice as heavy.
- Travel towel
- Travel yoga mat
- Glasses
- Sunglasses
- Pocket knife
- Hut sleeping bag
- Tote bag
- Clothesline and clothespins
- Trash bags
- Lighter
Toiletries
Can I even call this “cosmetics”? I’m not bringing any makeup. Maybe mascara will sneak into the pack at the last minute.
I tried to avoid packaging as much as possible. Everything is solid—shampoo, conditioner, and face soap. Only the sunscreen and Dr. Bronner’s liquid soap come in bottles. The sunscreen is nanoparticle-free, vegan, and Codecheck-approved. The soap is super concentrated and doubles as shower gel and laundry detergent. I got the peppermint version, which is also technically toothpaste, but I’m not quite ready to brush my teeth with soap. Maybe later.
- Solid shampoo from Lush
- Solid conditioner from Lush
- Dr. Bronner’s soap
- Solid face soap from Lush
- High-altitude sunscreen
- Bamboo toothbrush
- Toothpaste tablets
- Dental floss
Travel First Aid Kit
Hopefully, I won’t need it, but something always happens on a hike like this. It’s better to be safe than sorry. My friend and I split the basics.
- Ibuprofen
- Electrolytes
- Magnesium
- Magnesium oil
- CBD oil (10%)
- Buscopan for stomach cramps
- Blister plasters
- Kinesiology tape
- Earplugs (for the 100-bed dorm…)
- Nail file
- Contact lens solution
- Disinfectant spray
Snacks
- Dried bananas
- Energy bars
- Cashews
- Hydration bladder
- Peanuts
My pack weighs exactly 8 kg, excluding water. Hiking with a friend really helps, especially when you can split gear like the first aid kit.
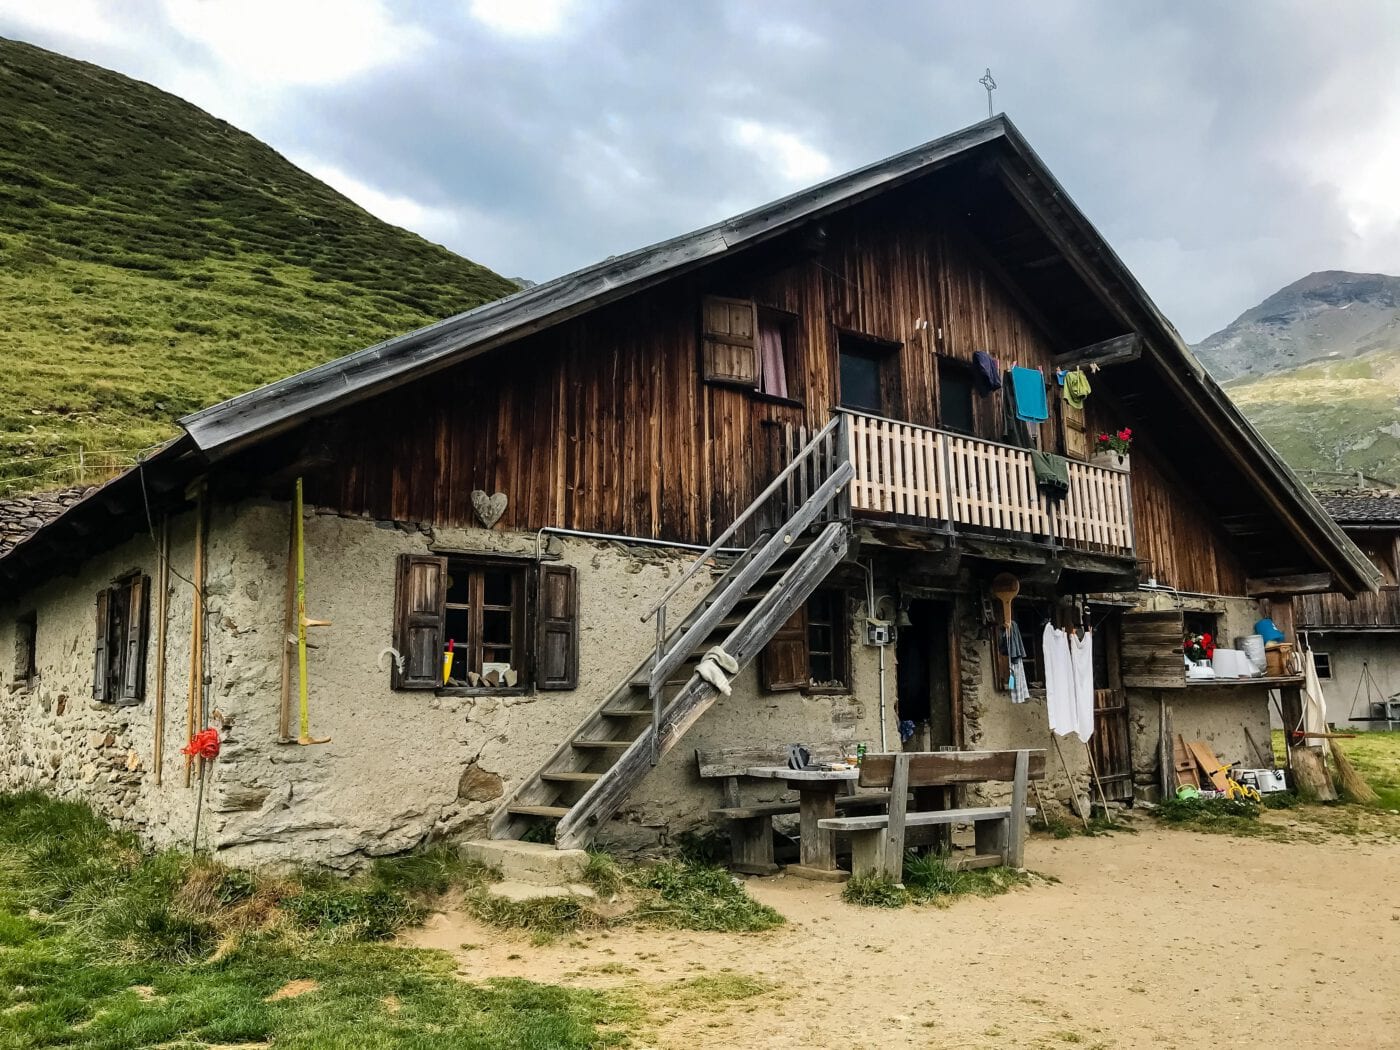
Sleeping in Huts
Along the Dream Trail (Traumpfad), you can either camp or stay in huts. A tent means more independence and nature, but also full exposure to the weather. You’d need a sleeping bag, mat, stove, and food.
Staying in huts is a lot lighter. And for some, the social aspect is a plus — chatting with others over dinner. Especially when hiking solo, that’s a nice touch.
The hiking guidebook lists all the huts and their phone numbers. Since the season is short, huts fill up quickly. Booking a few days in advance is highly recommended. The best time to call is around 3 p.m. — after lunch, guests have left, and before dinner guests arrive.
The sleeping setups are wildly different: dorms with 7 people on 5 mattresses, 30 in one big room, snug 10-bed rooms, or even private doubles — we experienced it all. Most of it was manageable. Only one place was a damp, musty cellar — and that’s exactly where we slept.
Showers varied just as much. Some left you feeling dirtier than before (take flip-flops). Others promised 4 minutes of hot water but gave you 2 (yes, we timed it). And a few were sparkling clean and gave you a full 5 minutes. Bathrooms usually had space for 3 to 5 people brushing their teeth side by side. Often, on the walls were plastered with signs banning laundry or hair washing.
Booking and Payment
More huts now have online booking — via email, web form, or automated systems. If you have a signal at the summit, check the website and try your luck. Italian huts often want advance payment via bank transfer. Good idea to check with your bank before the trip if international transfers are enabled. Some huts make exceptions, but you can’t count on that.
Food
We brought nuts, dried fruit, and bars for the first few days. They lasted a while, since we had hearty breakfasts and didn’t need much for lunch. But dinner? We were always starving. A starter, salad, main dish, dessert — suddenly we could eat a lot. Carbs are your best friend.
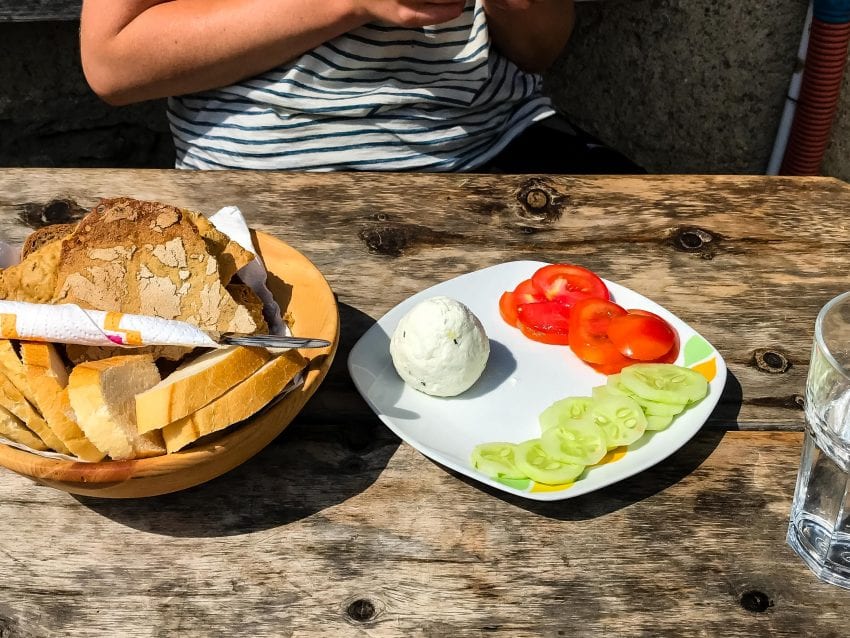
Hut food is simple and filling, often meat-heavy. If you’re a vegetarian, give them a heads-up. I didn’t, out of Berlin habit, where everyone’s used to every diet. So I ended up with a potato and some cheese more than once. If you’re vegan or gluten-free, you might go hungry until you reach Italy, where polenta finally saves the day.
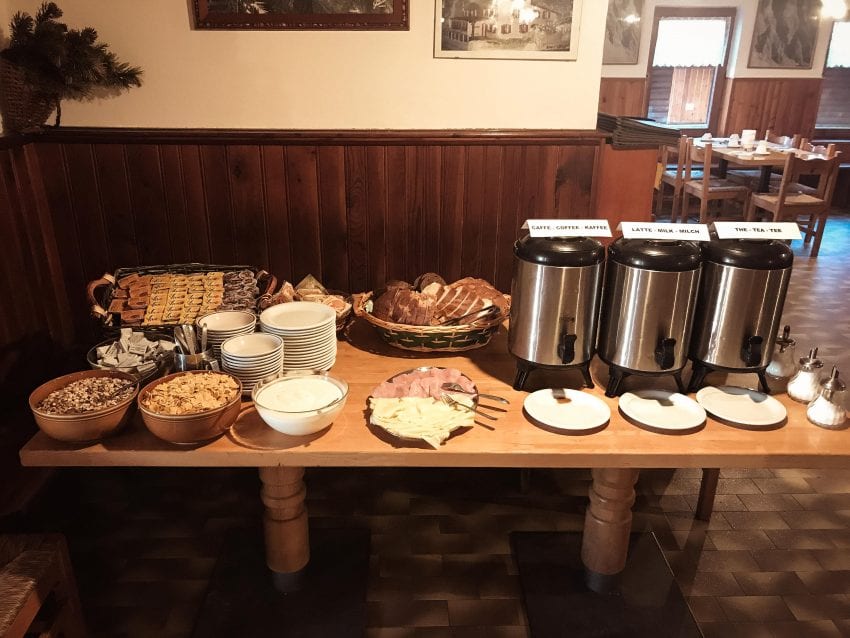
Breakfast is usually a bread basket or a couple of slices, cold cuts and cheese, tiny packs of jam, Nutella or honey, and coffee or tea. My hiking buddy always ate my meat, and I got her cheese. Best case scenario: a buffet where everyone could pick what they wanted.
The more remote the hut, the simpler the food, which makes sense. In the Dolomites (for example, Puez Hut or Pisciadù Hut), everything is flown in by helicopter — even drinking water. So prices are steep and meals often underwhelming, but when you’re that hungry, you’ll eat anything, even if the bread crumbs feel like inhalable sawdust.
Water Supply
Easy to forget: the water situation. In towns and valleys, there are drinking fountains. On mountain pastures, you can usually refill your hydration bladder. But some sections have no water at all — clearly noted in the guidebook. In summer heat, with temperatures over 30°C, that can be a real problem.
Some huts in the Dolomites have no tap water at all — no shower, no refill. You’ll have to buy bottled water from the hut staff. Half a liter costs 4 euros. Brutal. If possible, stock up the day before — but that’s more weight to carry. There’s no perfect solution. You just have to live with it.
Highlights
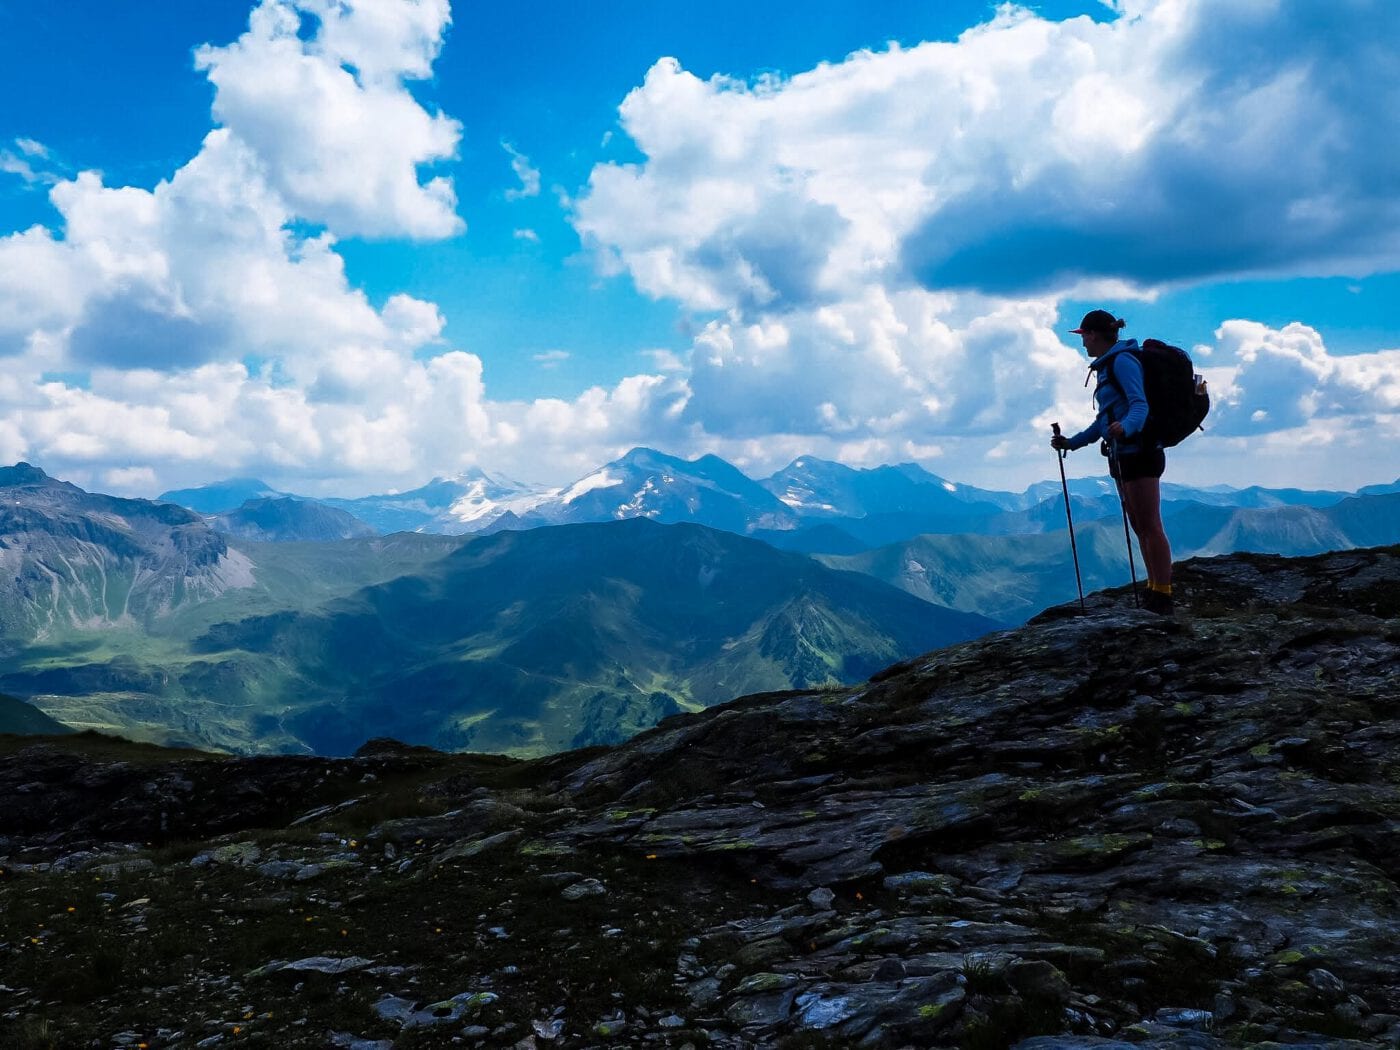
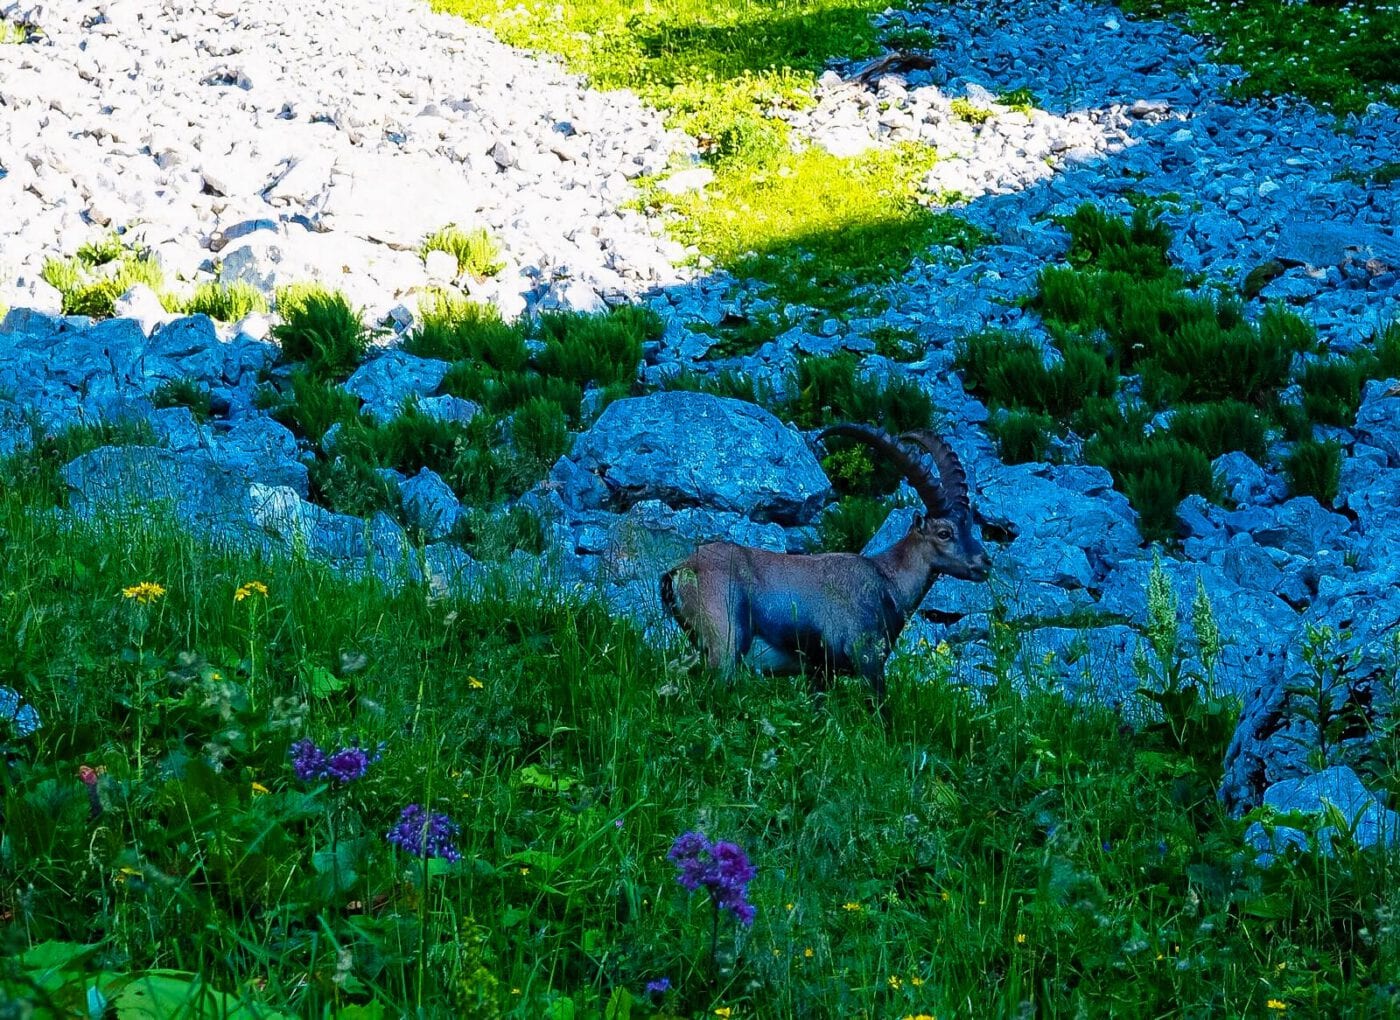
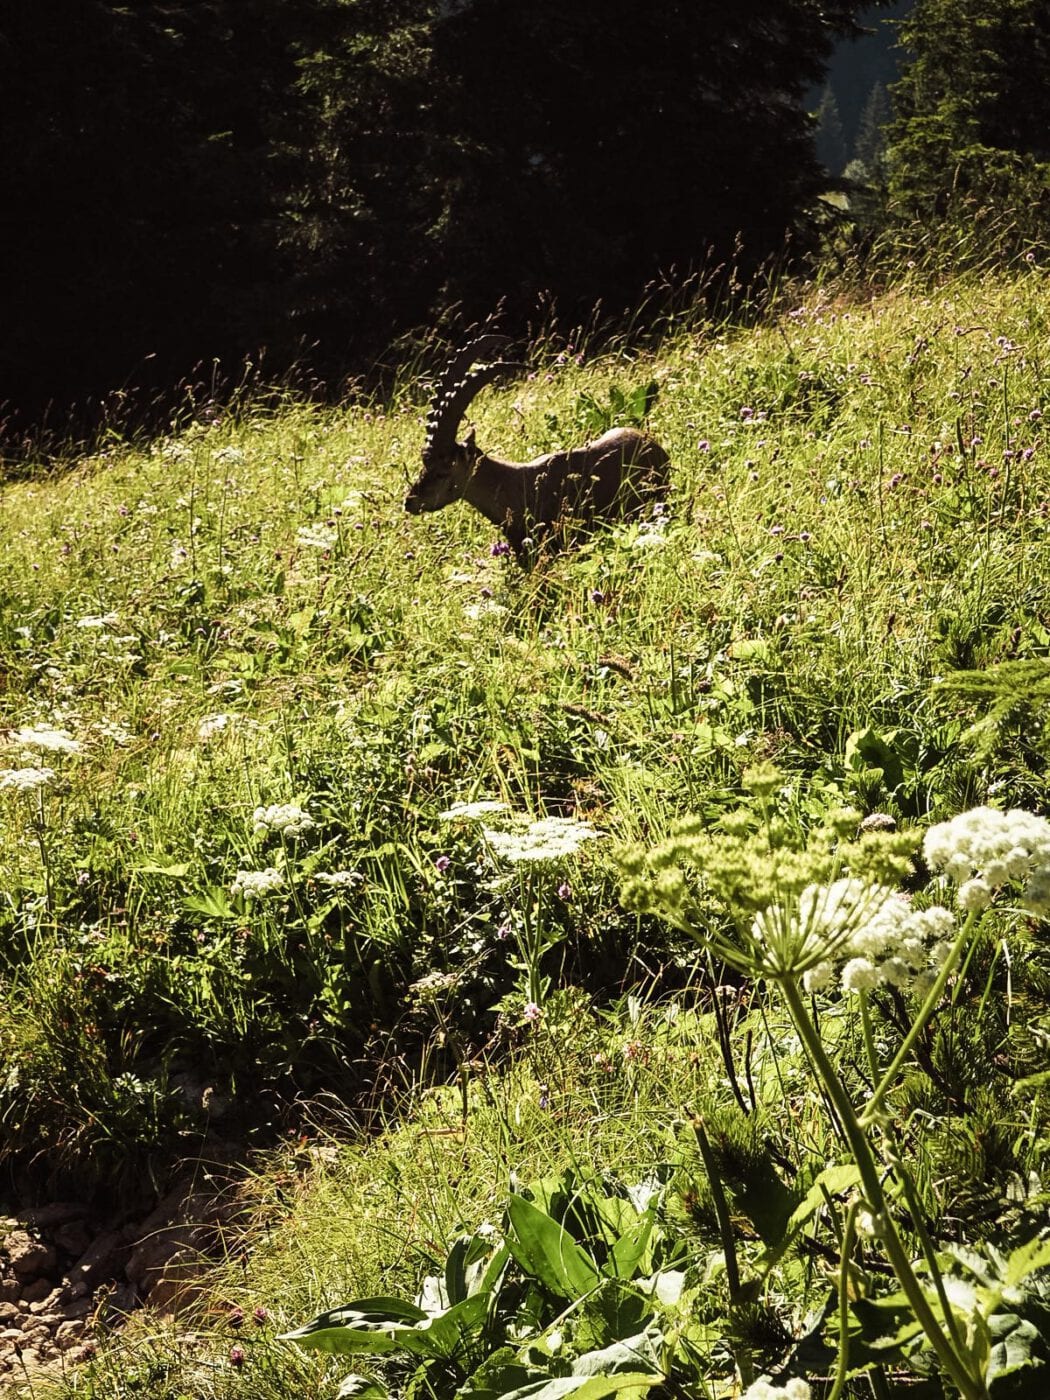
Of course, the hike was full of highlights: the silence, the views, the flora and fauna, and the clear mind. But a few moments stuck with me, especially:
The first night under the stars. We hadn’t planned to bivouac, but we arrived at the hut too late. They had no space left and no dinner either. So we kept hiking, even though it was already 9 p.m. The sun set while we were still climbing. Suddenly, the trail disappeared. We sat down in a little hollow and tried to stay warm. At 6 a.m., we got up with the first light and hiked the rest. Freezing cold. But also: unforgettable.
One evening, we arrived at a hut, soaking wet. My phone was dead. The hut manager said we could only pay cash, but we didn’t have enough. After some back and forth, he let us stay. He even gave us free soup and a shot of schnapps. The next morning, we found out: they did take cards after all. It was just their little ritual to test the hikers.
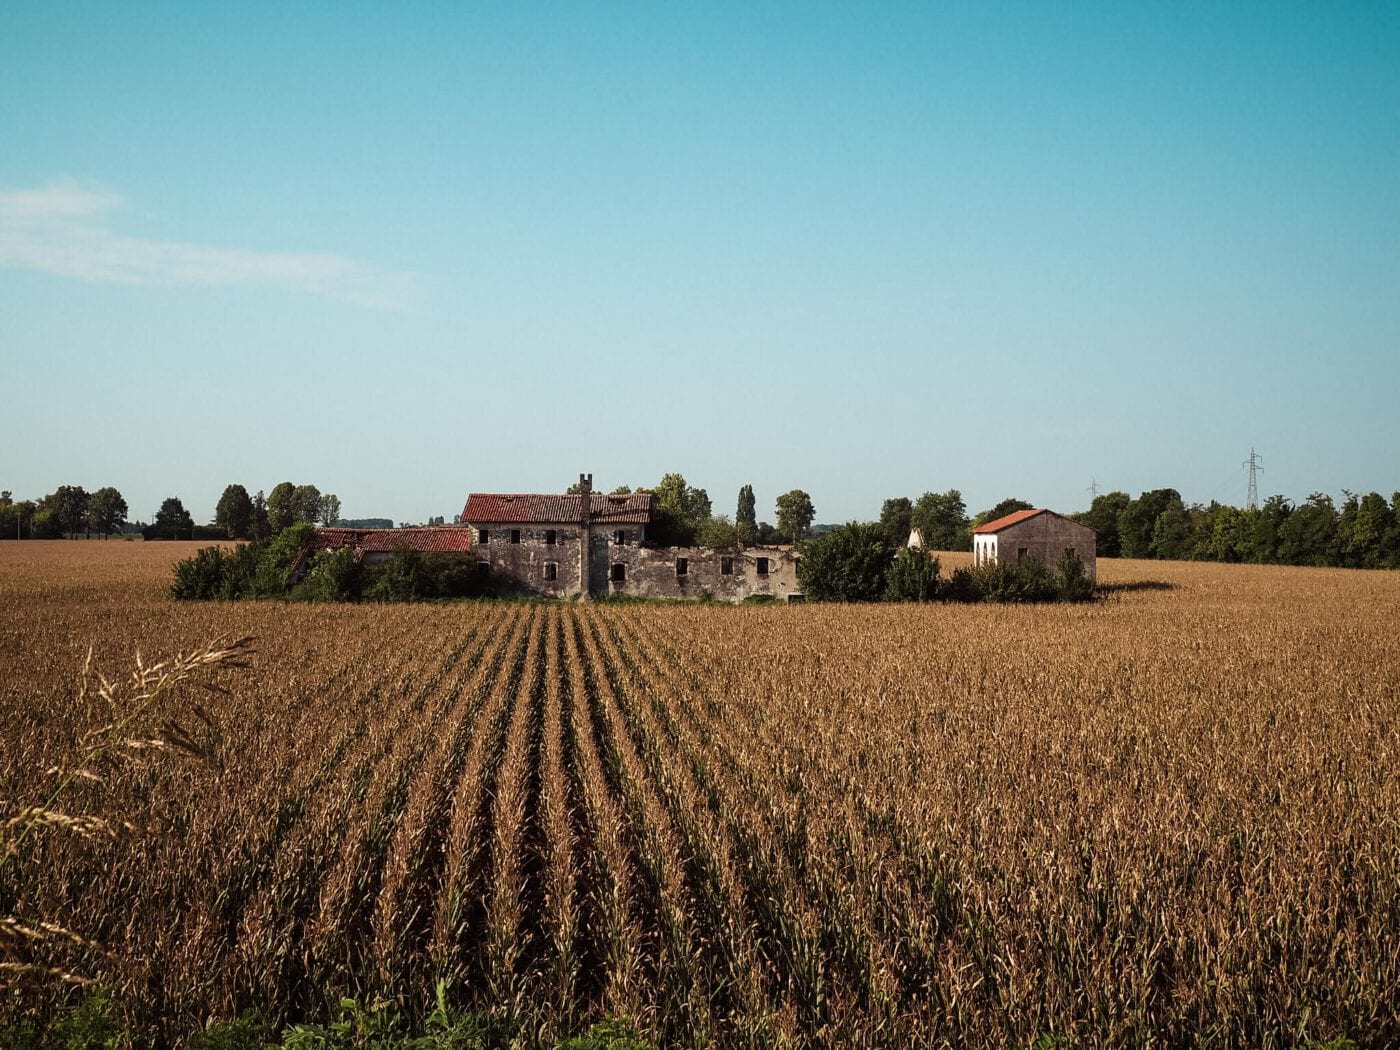
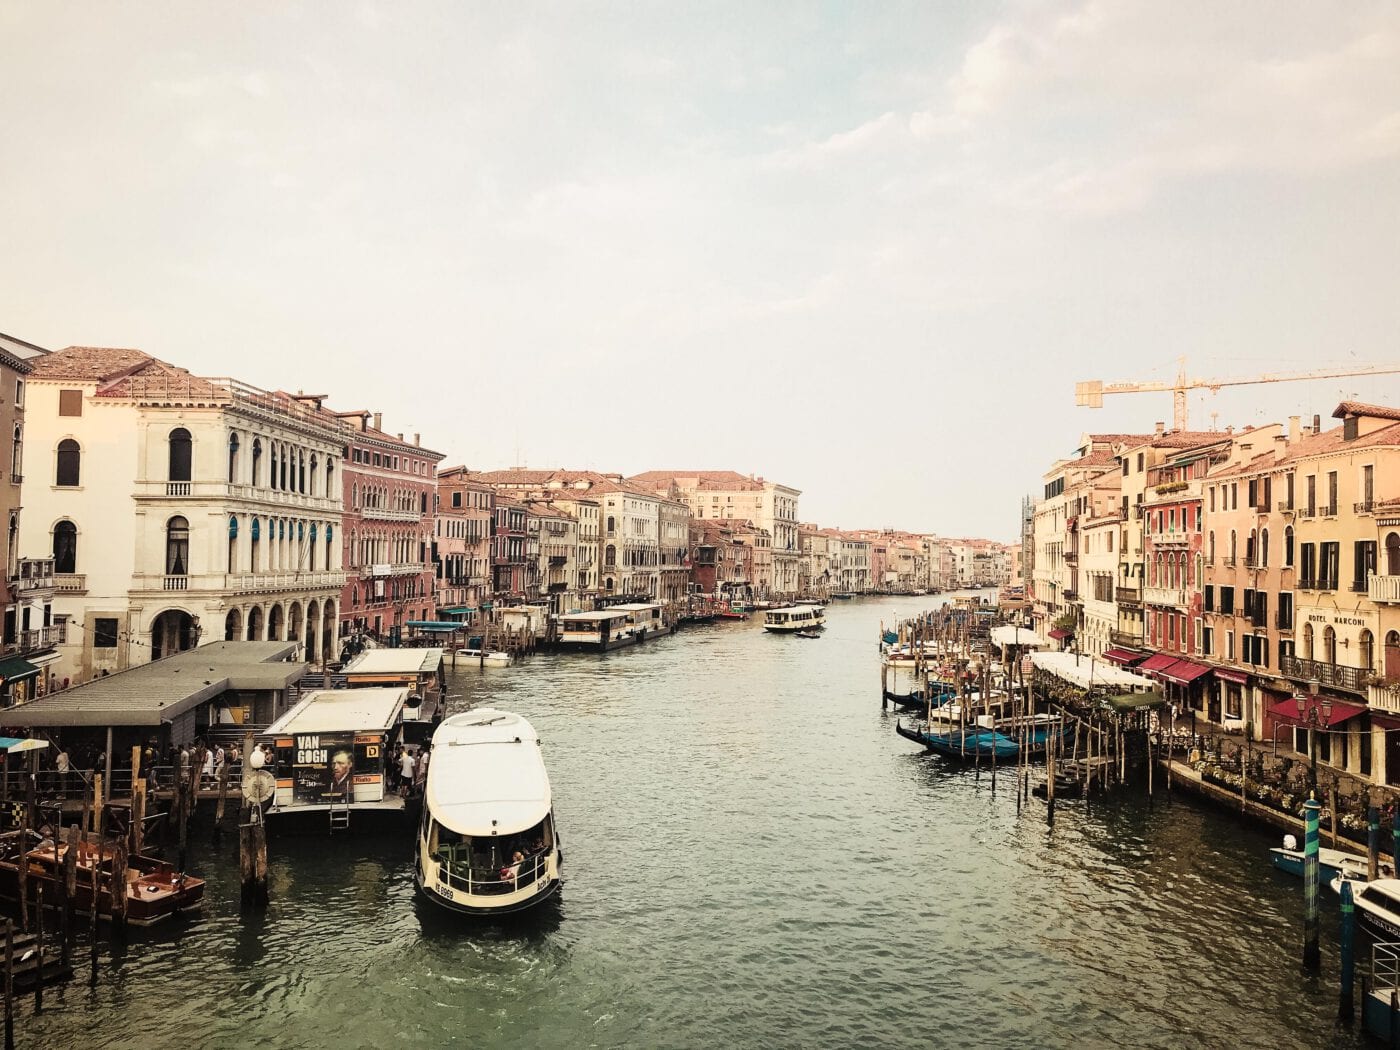
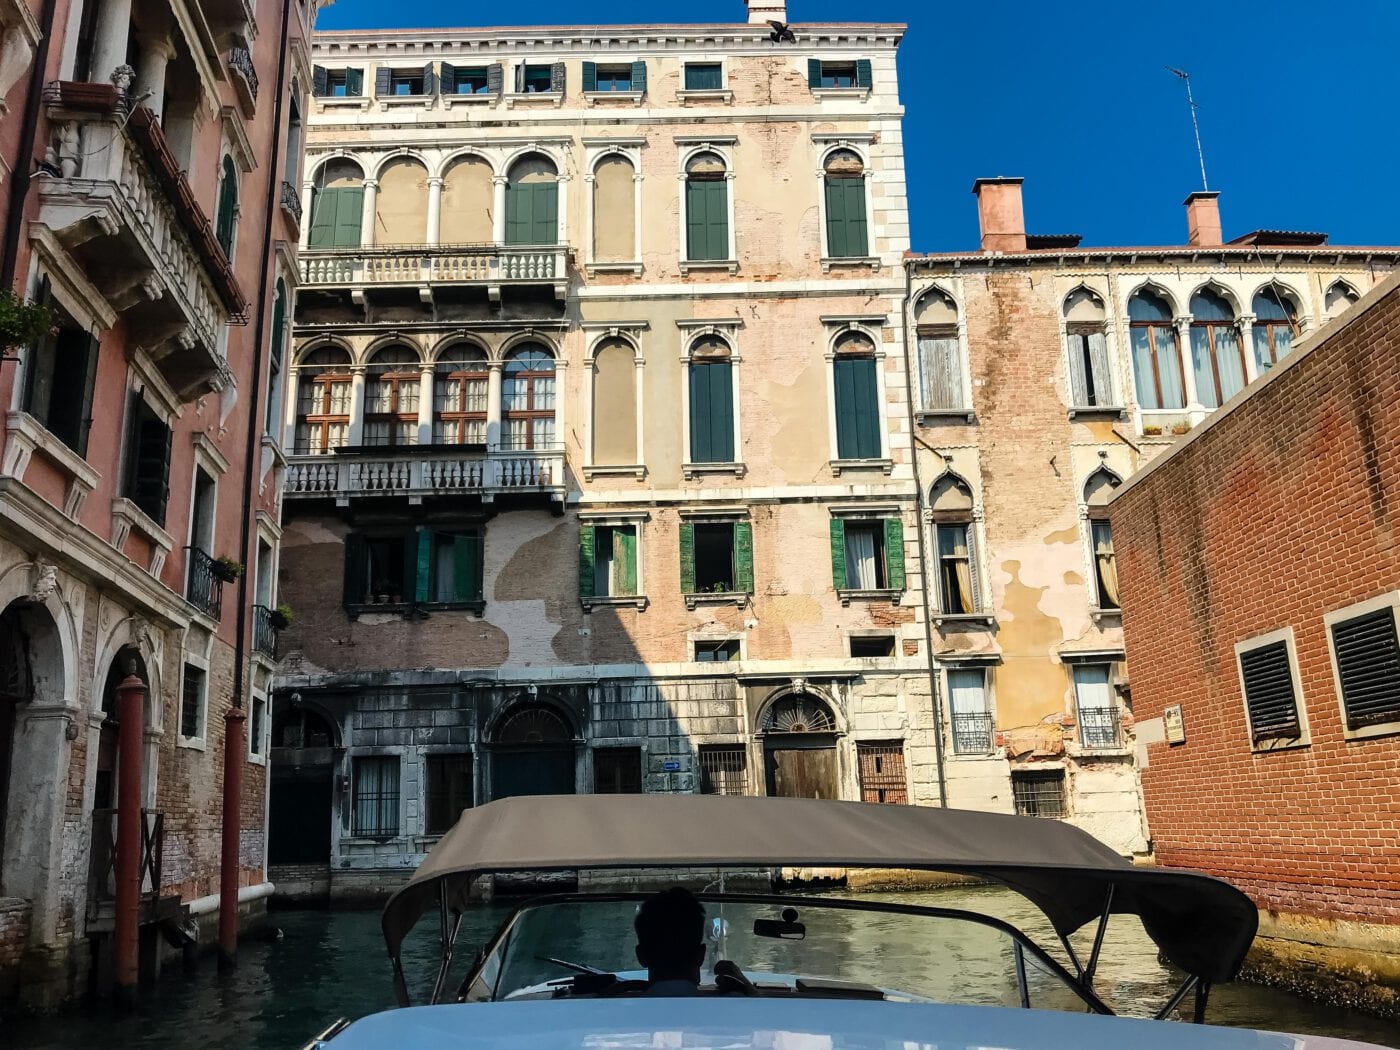
Then there was the day we crossed into Italy. The landscape changed, the food changed, and the people changed. Suddenly, the sky was blue, the coffee was good, and I could understand the language again. I’ll never forget that feeling of having come so far, with still a long way ahead.
Lowlights
Unchallenged and without any competition, Stage 21 from Bruto Carestiato to Pian de Fontana – right in the middle of the Belluno Dolomites – was the worst. The day before, we had already walked for 1.5 hours through heavy rain, barely able to see anything. Our shoes and clothes were soaked at the start of the next day. Still, we put everything back on and headed out—what else can you do?
The forecast called for mixed weather with some showers around noon. The guidebook described the route as “normal,” with only a steep meadow to tackle at the end. So, we started out worry-free. What the book failed to mention was how terrifyingly steep and nerve-wracking the “Cime de Zita” ridge can be in heavy rain. We began the final ascent of the day in light drizzle, which soon turned into a downpour. Torrents of water ran down the trail into our already soaked shoes. The visibility kept getting worse until we reached the ridge, right when the rain turned into hail. Wearing just shorts and rain jackets, we had no choice but to keep going. Tense, hyper-focused, soaked to the bone, and honestly scared—that’s a terrible combo for a hike.
Once we finally made it to the top, we immediately began the descent via the so-called “steep meadow.” Unlike the authors of the guidebook, the Italians clearly saw it more as a dangerous slope and had put up multiple warning signs. My mood hit rock bottom—I just wanted to reach the hut. What got me through was the thought of a shot of schnapps.
I had never been that wet in my life. I was freezing, cursing, and done with the Dolomites. We’re not parting on good terms—for now. Too much scree, too much unpredictable weather, too many people. Maybe next time, Dolomites. What do you think?
Coming in at a close second in the lowlights: my Achilles tendon. It started acting up big time on day 4—swelling, searing pain, and not even Voltaren could calm it down. The heat didn’t help either, and every day I had to squeeze my swollen feet into my hiking boots.
I got by with ibuprofen, which dulled the worst pain after the brutal mornings. I was really frustrated that my body wasn’t cooperating the way I’d hoped. I’d expected sore knees or back pain, but Achilles problems? Not at all. I took ibuprofen for ten days until I finally complained to my sister during our rest day at the Schlüterhütte. She threw her hands up in shock and explained how dangerous the combo of ibuprofen and intense physical activity can be. I had no idea.
She mentioned something called exercise-induced hyponatremia—ok, Google, what is “exercise-induced hyponatremia”? Rather than spread any medical half-truths, I quit the ibuprofen and sent some desperate prayers upward that I’d make it through the rest of the trip. In the evenings, I massaged my feet and the aching tendon with pain gel, slept with my legs elevated, and hoped for the best. And in the morning? I woke up and… all was fine. The pain was gone, the swelling gone. Spontaneous recovery! Unreal. What started as a lowlight turned into a highlight and reminded me that the body is capable of so much.
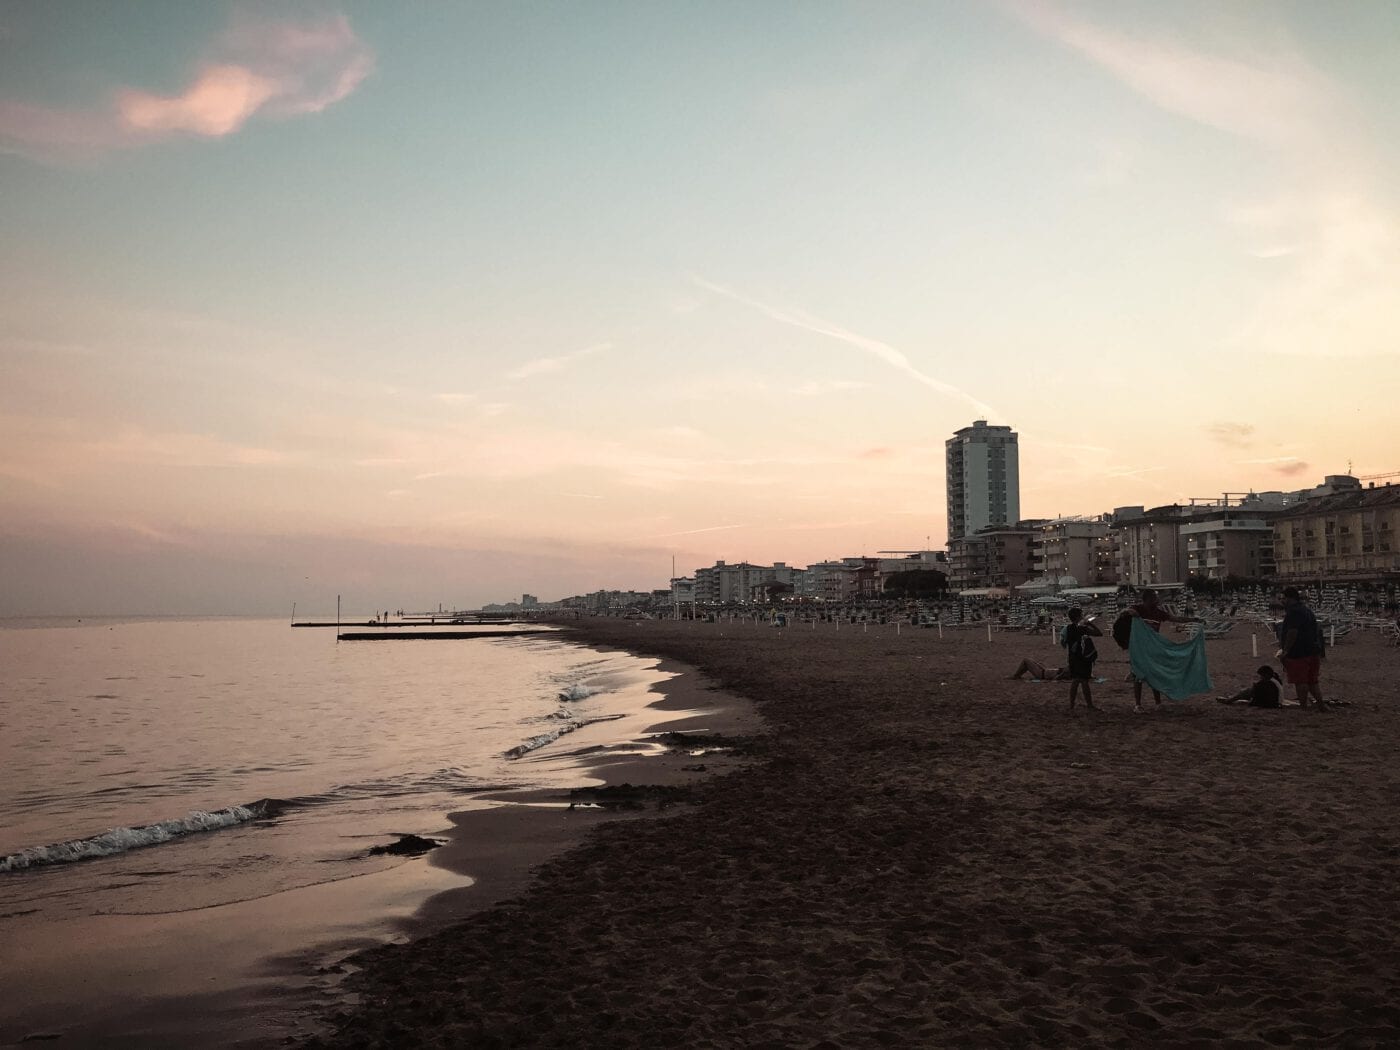
Third place in the lowlight ranking goes to my first swim attempt in Lido di Jesolo. I’d been looking forward to jumping into the sea for days. The joy didn’t last: on the way out of the water, I sliced open a toe… on a broken acrylic nail. Gross!
Best Huts for a Rest Day
Many huts have their own charm. But a few stuck with me so positively that I’d especially recommend them to anyone planning an extra day off.
Halleranger Alm
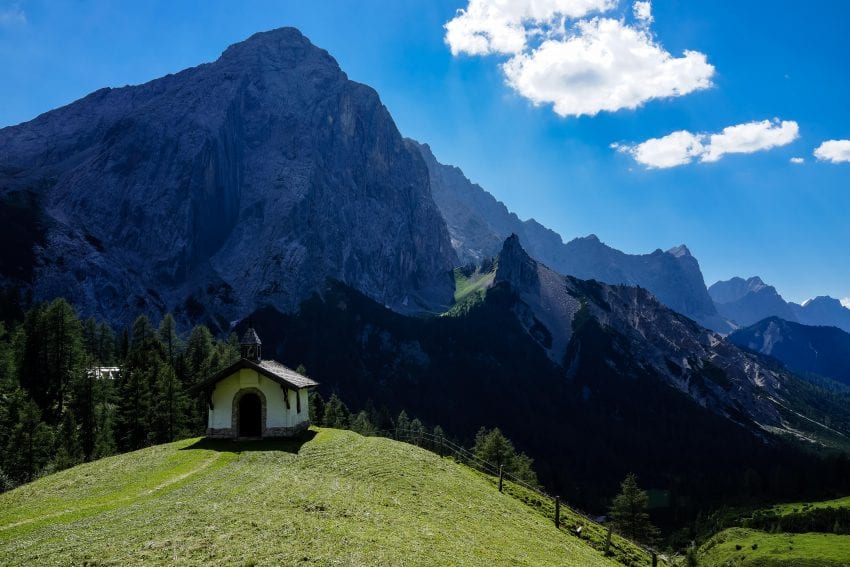
The innkeeper of Halleranger Alm is a character—rough humor, very sociable, and warm-hearted. In summer, he names his cows Berta, Erna, etc., but in winter, he calls them Goulash and Steak, as he told us. The food is insanely good and very filling. Portions are generous. Once you make it up to the hut, you’re rewarded with peace and a picture-perfect view. You can enjoy the sunset from benches or comfy loungers on the terrace. A small chapel completes the idyllic view.
Here, you can opt for a private room instead of the dormitory. Then the only sound you’ll hear is the tinkling of cowbells—not snoring.
Dominikushütte
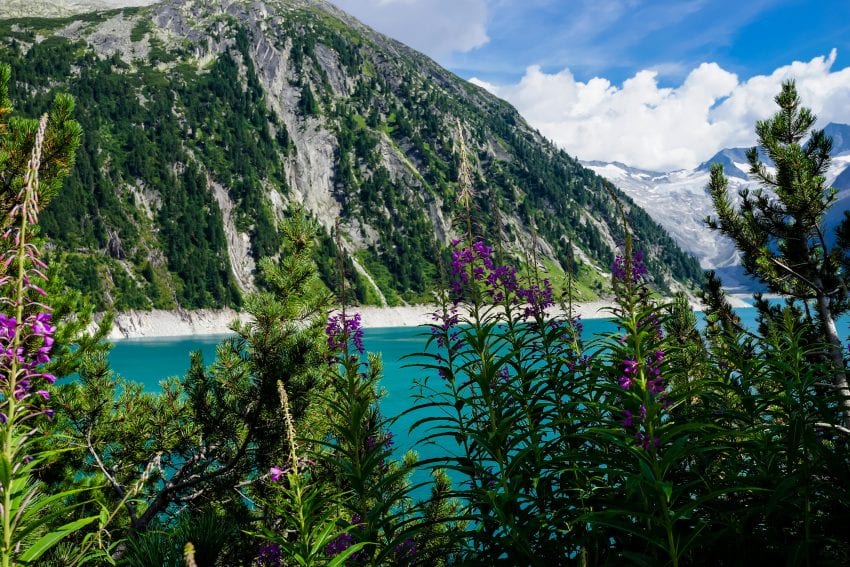
I’ve already mentioned the Dominikushütte among the highlights, but it deserves another mention here. If you just want to relax, enjoy some tasty homemade food, and swap a hike for a leisurely walk around the Schlegeis reservoir, this is the perfect place. The whole family pitches in here. The warm atmosphere, with the innkeepers often chatting with guests, makes this hut truly special. Plus, you won’t sleep in a huge dorm but in a small shared room. A 5-minute (!!!) hot shower costs just 2 euros—unbeatable—and you’ll feel like you’ve had a mini spa treatment.
Gasthof Stein
Sleeping in a 100-year-old inn with creaky floors, vintage sinks, and all the charm in the world—that’s what Gasthof Stein offers. I have the feeling the village “Stein” was named after the inn, not the other way around, because there’s not much else there. Pure seclusion, right in South Tyrol. Instead of distractions, you get peace, barely any phone signal, and a serious dose of slowing down. The lady of the house is the daughter-in-law of the host family: she keeps things running, gives local tips, and improvises meals if you prefer to eat meat-free. She even sent us to a nearby village festival to mix things up a bit. We really enjoyed the short stroll through fields and past other guesthouses.
Kreuzwiesenalm
Okay, I won’t sugarcoat the ascent to Kreuzwiesenalm—it’s steep. Really steep. But the last hour before reaching the hut looks like something straight out of a Heimatfilm or The Sound of Music: total bliss, lush greenery, stunning scenery. The hut is tucked away in this green paradise, surrounded by grazing cows and horses in pastures.
We slept in a converted hayloft that still smelled like hay. Even though we shared the space with around 25 others, there was enough room not to feel crowded. We even witnessed a thunderstorm from the dorm window—one of the best nights’ sleep I’ve had.
The dining room is more of a cozy restaurant than your typical hut space. You can tell that day visitors come by for a good meal. Guests sit together comfortably and can enjoy house-made cheese.

Schlüterhütte
We took a rest day here and couldn’t have been happier. The hut is surrounded by green meadows, small mountains to climb, a terrace with loungers, and long clotheslines—perfect for laundry day. There were plenty of power outlets and spacious rooms. The showers and bathrooms were clean. The hut itself is huge, spread across three floors. It gave me major school-trip vibes in the best way—a sense of community, people everywhere, but never chaotic.
The host was one of the kindest we met—always smiling, welcoming, and calm despite the hustle and bustle. Dinner was super organized and each group got a dedicated table, sparing the usual table-hunt chaos, especially helpful when the hut is fully booked. In the evening, you could hang out in the dining room or outside with wine or homemade schnapps.
Tarzo: Casa Dell’Olmo
Casa Dell’Olmo isn’t in the official guidebook. We wanted to stay closer to the lake, so we didn’t book Hotel Carlo in central Tarzo. We had no idea how lucky we’d get: a charming little house on a picturesque farm, all to ourselves. A large kitchen with stove and fridge, a cozy bedroom, a modern bathroom—we were in heaven. The owner greeted us warmly and had a bottle of ice-cold lemon water waiting. Alongside it: two slices of cake and fresh fruit from her garden. After a hot day of hiking, arriving at a cool house with cold water and figs? Pure bliss. Later, she came by again with cheese, tomatoes, and cucumbers (also from her garden) for us to snack on.
We felt completely at peace. I wouldn’t be surprised if we ended up going back someday for a vacation.
My Conclusion
This hike changed me, and I feel it especially now that I’m back in Berlin. Everything here is so fast-paced and stressful, and it made me realize how much the hike slowed me down. I’m trying to hold on to that inner calm, but I admit, it’s hard. However, I’ve also become aware of how toxic my phone can be. I really need to rethink how I use social media…
That aside, I’m proud of what my body is capable of. No matter how high the mountain or how steep the trail, my legs carried me up. That’s an incredible feeling. And you realize how little you actually need and how content you can become. Fresh air, kind people, nature, and movement—that’s really all you need.